Wednesday, June 27, 2012

The One With the Blue Door

(I totally think I might start naming blog posts like all Friends episodes starting "The One With...". It's so much easier than trying to think up clever titles!)

Our front door has been in need of some major sprucing since we moved in. Since it's one of the first things people see when they pull down our driveway, I figured it was high time to get a'sprucing after doing nothing for 2 years. I was so inspired by the March 2012 cover of Southern Living, and after reading about the beautiful front door makeovers I was sold on painting our door. Stuart, not so sure!


As any good DIYer now does, I quickly perused Pinterest to soak up all the inspiration I could and narrowed my door color down to blue or red. After seeing this picture of the front door from the blog Cottage and Vine and how well the Wythe Blue paint by Benjamin Moore worked with the white house and black shutters, I knew I wanted to go blue.

Pinned Image

(source: Cottage & Vine)

Stuart was not as convinced. In an effort to entice him to my side, I painted this sample on the door with "Hi Love!!!" written in paint above it. When he got home and saw it, he still wasn't sure. But I was, so we went for it with the thought that it would be just as easy to paint the door black again if we didn't like the outcome.


We also decided to relocate and paint the house numbers since you really couldn't see them unless you were super close to the front door. And we opted to ditch that barn-inspired screen door. Now don't get me wrong, I love a good screen door. And it's so nice to let sunlight filter into the house without buggies coming in. But this door was on my "to get rid of" list from the first time we toured our house and aesthetics won out over functionality. We would love to replace the screen door in the future with something more attractive, but for right now we're okay without one.


And this is our super official note to anyone that delivers packages to our door -- "Please leave package inside screen door. Dog will eat if left outside!". We're going to have to think of a new solution for packages now that this is not an option...


To prep the door for paint, Stuart gave it a good sanding and then we hosed it down and let it dry.


We also removed all of the hardcore burglary warnings that were on the windows of the door from the previous owners (these are on the rest of the exterior doors as well!!). If potential burglars could make it this close to our house to read these stickers without stirring our canine, they almost deserve to get in because getting past Smyth is quite the feat. We used Goo Gone and a razor to get the stickers off--worked like a charm. 


We also removed all of the hardware (since it, like the house numbers, were going to be getting a spray (paint) job). We sanded where the hardware had been to remove built up paint.


And then the painting ensued. This is a shot after the first coat went on (but before we had painted all of the trim around the windows).


And here is the finished product! Much more cheerful than that boring old black door. It's reading a little more turqoise than in real life (probably because I tried to edit these pictures and I seriously have no clue what I'm doing). To get an accurate read on the color, the Cottage & Vine picture towards the beginning of this post is much more true to reality. We spray painted the existing hardware in Oil Rubbed Bronze to give it a fresh new look.


We also spray painted the porch numbers in ORB and rehung them on the pillar from their old location right next to the door. We need to touch up where the hinges were from our screen door--just ignore where you can see that in these pictures!


New planters and ferns from Lowe's finish things off (and the ferns are probably twice as large now as they were when I took these pictures!). We have SO much more to tackle with the exterior, but we are taking it one (tiny) step at a time so as not to overwhelm ourselves!


It's definitely way more fun to pull up to this color than when the door was black!

And most importantly, Smyth approves :) She has only tried to eat one of the ferns, one time. That's progress people.


Sunday, May 6, 2012

Stick A Toothpick In It...

Because I think this bathroom is (finally) D-O-N-E! The last time we left off, the bathroom still needed painting, lighting, and accessorizing. Then we added our DIYed state art and were starting to add the finishing touches, like a new fancy schmancy light switch and light. So without further ado, the bathroom went from looking something like this at the end of our last post:


To this:


We painted the bathroom with some leftover gray from our guest bedroom in an effort to start continuing our paints colors throughout the house.


Doesn't hurt that the paint color looks pretty darn nice with our carrara marble floor tiles.


I loved adding little accessories in the space--it's so nice to have a room that is completely done (it's the only one in our house that is!). This space may only be like 20 square feet, but we are pretty proud of the finished product :)


These little soaps are gardenia scented--they make me want to wash my hands for no reason, just to be able to smell them afterwards...TMI?

My mom gave me these sweet little monogrammed hand towels for Christmas. I realize they are wrinkled in these pictures, but this is real life over at the Mull's and we really do use them! The succelents below give the room some life, and lucky for my black thumb that they are pretty easy to take care of so far.

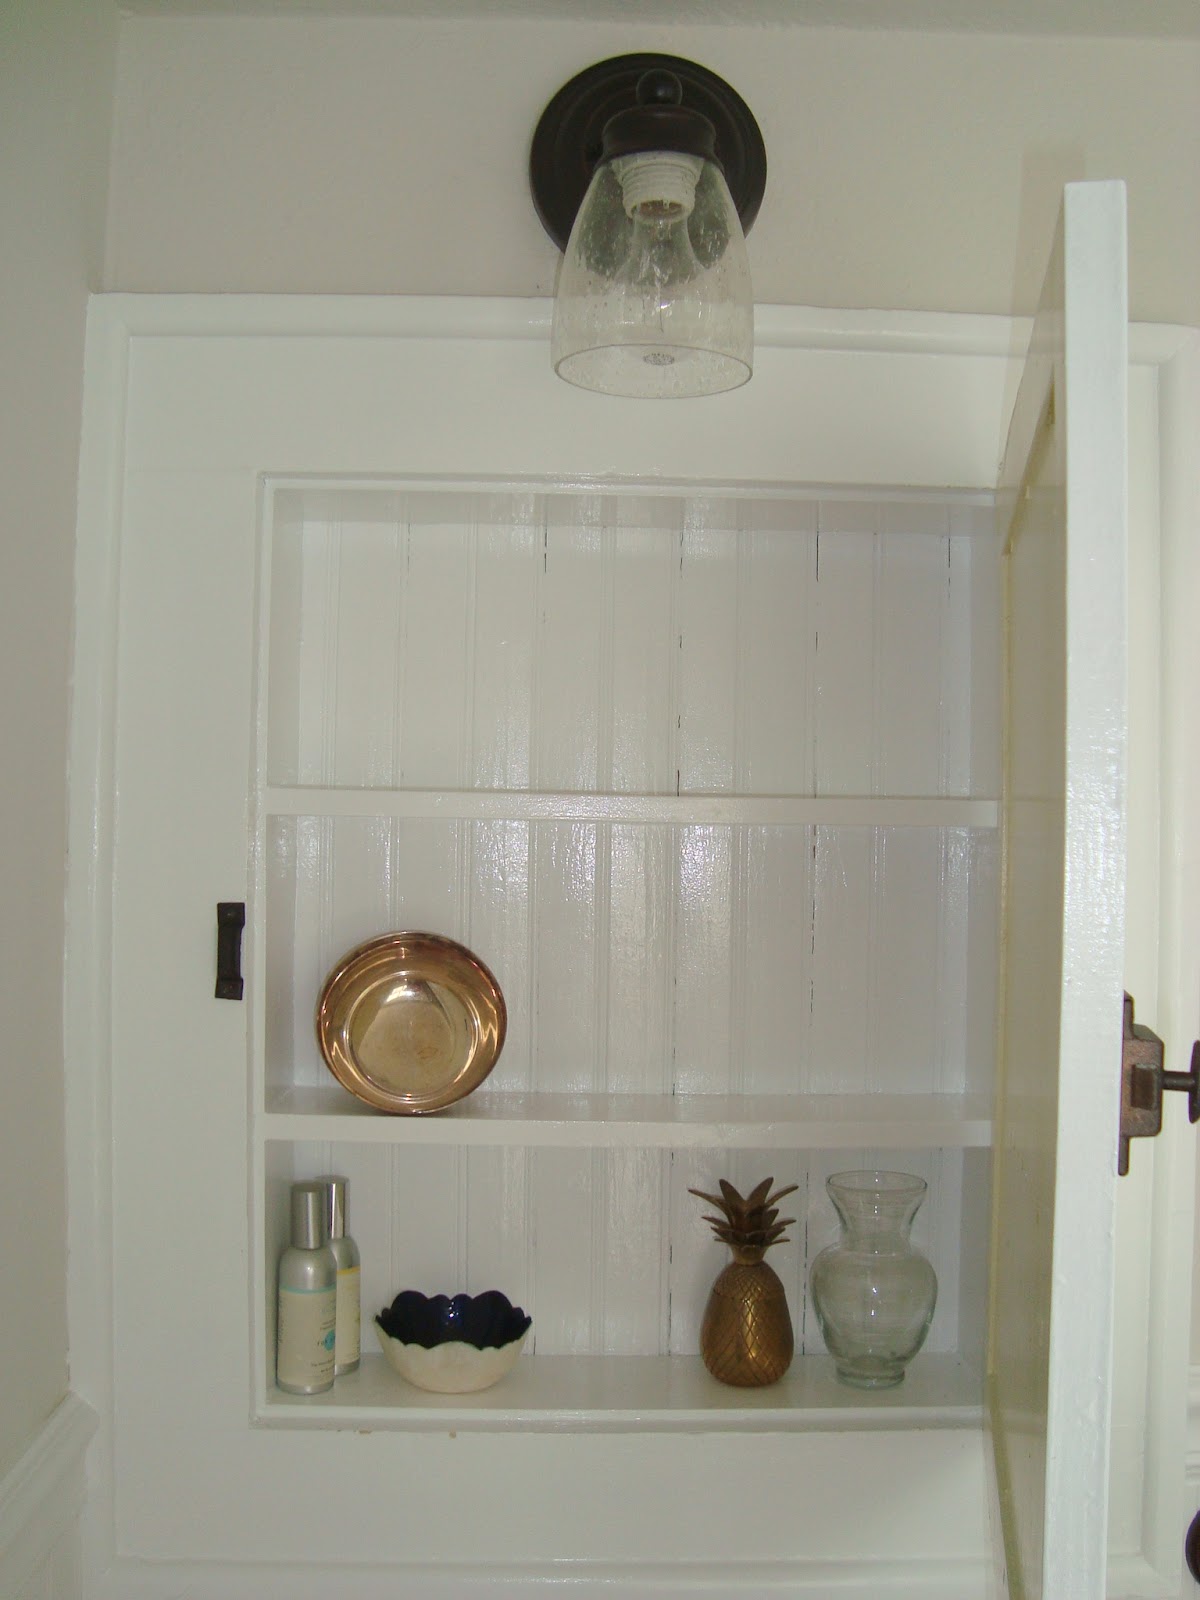
We kept the original built-in medicine cabinet and just gave it some love with high gloss paint--the beadboard interior is my favorite.

We removed all of the hardware on the cabinet, doors, and windows to strip and paint them like we did in our upstairs bedroom and will do eventually throughout the rest of the house.

This is a hard-to-get shot of the closet door in the bathroom. The closet is actually pretty deep, as it is the space under our stairs. I literally had to hold the camera above my head, aim, and hope to capture this picture--that's how small this bathroom is!


Here is the inside...I only said that the bathroom was done--the closet is another project for another time!


But the real important thing here is that our bathroom went from being icky, ugly, and gross:


To pretty, fresh, and clean!


And now, for a final breakdown of where we got everything:

-Tile Floor: Amazon
-Beadboard, baseboards, etc: Lowe's
-Towel bar, toilet handle & toilet paper holder: Lowe's
-Light fixture: Lowe's
-Sink and plumbing parts: Lowe's
-Sink faucet: Amazon
-Art: DIYed
-Chevron tray: One Kings Lane
-Succulents: Lowe's
-Succulent planter: Wal-Mart
-Trashcan: Target
-Vase: Ikea
-Bird nest: garden store in Blowing Rock, NC
-Monogrammed tea towels: Gift from my madre

And I think that just about wraps up this project! This bathroom is proof that you truly don't have to know how to DIY to DIY--you just have to learn along the way. Please leave me a comment if you have any questions about something that I might not have covered, or if you just want to drop us a line!


Monday, April 16, 2012

Now That's A Bright Idea...

...To finally have our electrician back out to the house to install new light fixtures and receptacles! We've been pondering the electrical situation at our house since we moved in--ie: "Should there be a plug here?", "Oh, it would be so nice to have a plug in this hallway", "Do we REALLY want to mount our TV over the fireplace", etc. So after living with our house's electrical system for 2 years (other than having all of our plugs updated to GFCI, which grounds and protects from electric shock), we were finally ready to forge ahead with some electrical updates. But we are glad that we lived with the current state of things for a while to really be sure what updates we wanted done, since we changed our minds several times in the planning process.

First up for an electrical update was the downstairs half bath that we have been working to finish. The lighting in this bathroom was pretty par for the course with the rest of the house--outdated.


Worst part about this fixture was that it didn't even have a wall switch--just a pull-on chain!


I personally think it kind of looks like an astronaut helmet.


Here's an in-progress shot with the old light removed and a hole cut in the wall for our new wall switch.


But now, we have a prettly little fixture in an oil rubbed bronze finish brightening the space.


The new switch has a receptacle in it...extra fancy.


The glass shade has little air bubbles in it that cast a fun shadow on the ceiling when the light is on.


Next up were new plugs in several places...

The kitchen--before now, we had no receptacles at countertop height. NO RECEPTACLES AT COUNTERTOP HEIGHT, people!! Sometimes we just laugh at the oddities of our home.


So now we have one! We are going to eventually completely redo the kitchen, so we didn't want to spend a ton of money installing new receptacles. After 2 years with no plugs, we are just so glad to have one!


And a new one in the downstairs hallway. There were no outlets in our upstairs or downstairs hallways before now (and there are still none in the upstairs hallway--it's on our list for the next phase of electrical updates).


And here is a rare shot with my back to the main entry looking down our hallway (the new receptacle is at the end of the hallway). Again, we just have to laugh sometimes at how many projects we have going on around here. That hallway light will also be included in electrical update phase 2!


Our electrician installed a receptacle in the floor of our living room. Floor receptacles, how I love thee! They provide such a great way to hide ugly cords in living rooms where you have side tables but don't want to run cords across the room to a wall. And I didn't realize floor receptacles had come so far (or maybe they've always been this way and I just never noticed), but the receptacle is sunken down so you can cover it and the cord with your rug if need be. 


Temporary lamp (and temporary chair next to it) now plugged in on permanent table that will be covered in fabric (once I make a table skirt for it!).


And moving on...I finally consented to mounting the TV above the fireplace. I'm not the biggest fan, but the TV just didn't make sense anywhere else in our living room and the plan is to build some molding to enclose the TV when it's not in use. Here's hoping that actually happens! So here is our new plug for the TV (and I won't lie, I'm pretty excited about plugging Christmas lights in here, too!). Once we paint the cord cover the same blue as our walls, you won't even notice it! And the receptacle face is actually very white, although it does not come across that way in this picture.


And last but most improved, we replaced our foyer fixture. Here is the before...honestly, when was this ever a good design choice?!!


We replaced it with a new oil rubbed bronze canopy and chain with a large drum shade. Much better!


It's plain white for now, until I get the itching to cover it with a fabric once things get a little more finished in this space!


So that's all for now...orange you glad we didn't do everything in one phase and make this post longer than it already is? For any locals, we have been really happy with our electrician and enjoy working with him. His website is http://vernonmoyerelectric.com/. We are glad to bring in a professional when it comes to electrical work--that's defintely something we don't want to DIY!


Wednesday, April 11, 2012

Pretty In Pink

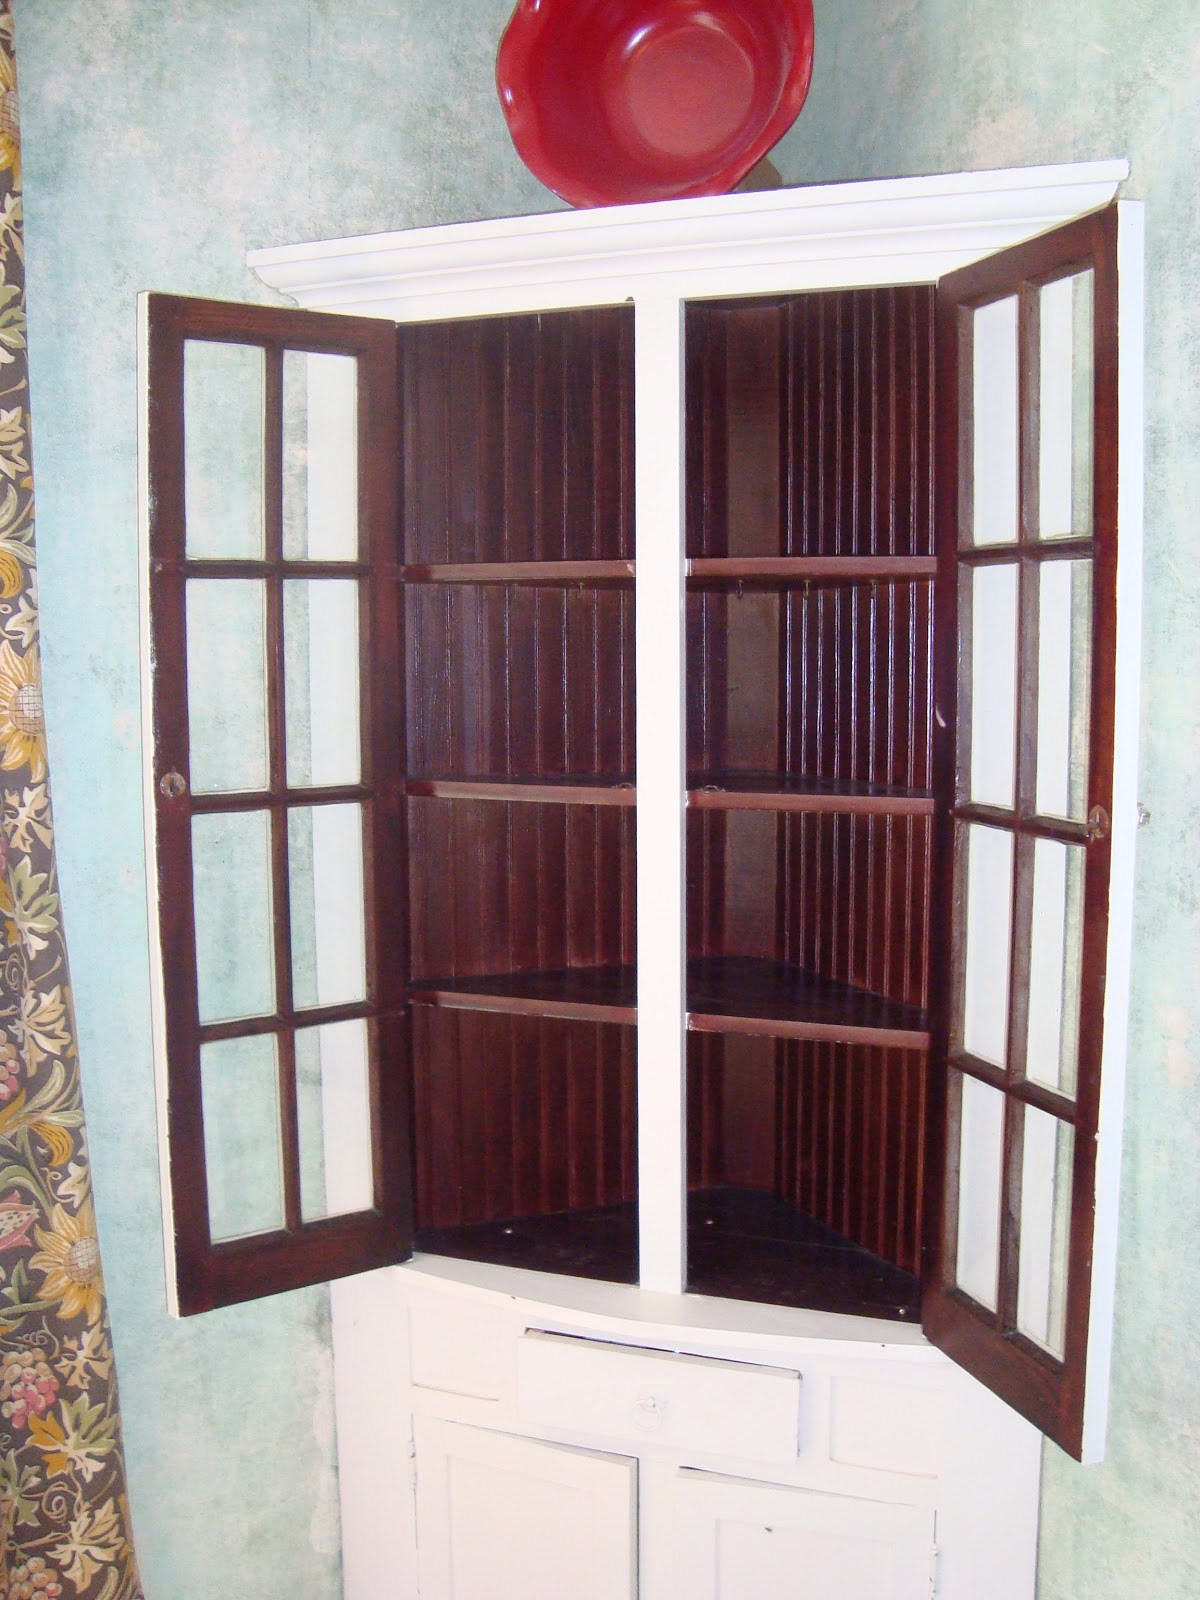
Since buying our house 2 years ago tomorrow (!!!), we admittedly haven't done much to our dining room. We stripped the wallpaper in summer of 2010 as mentioned here and made/hung curtains here. We have several other projects going on in other rooms of the house and are trying to wrap those up before opening any new cans of worms. But...since I had a 4 day Easter weekend I decided to undertake a mini project. Behold, our dining room built-in.


I've been telling Stuart for months now that I really wanted to paint the inside a fun color. The previous owners stained the original wood a mahogany and it was just so dark. Something that holds china and crystal should be a little perkier, no?


Ultimately, this room is going to be the same Bone White that we painted our upstairs hallway (which is really a beige and will also be the color of our downstairs hallway once we get around to it) to tie some of the spaces of our house together. Our living room is blue and you can see the foyer/hallway as well as the dining room from the living room. So we are thinking that if those two areas are the same color it will tie spaces together with the living room as their connector. Are you with me?


That being said, we (I) wanted a fun color that would pop in the dining room once it is painted Bone White. So I looked to our existing curtains for some color inspiration. Basically the options for the cabinet based on the curtain colors were green, a goldenrod-y color, or pink. I didn't care for the goldenrod--not enough pop against the soon to be Bone White. And the room is currently green, so that would be no fun. So ding ding ding, pink was the winner!


We cleared out the cabinet and wiped 'er down. Don't you love that original beadboard detail?


Who knew all of this could fit in that tiny little cabinet? There are 3 more cabinets filled with china and crystal overflow--yikes!


We primed with an oil based primer. I'll be honest, oil based paint is no fun. It goes on very thick, is very smelly, and is VERY hard to remove from paint supplies and most importantly, your hands! But we went with the oil based vs. water based/latex paint to get better coverage and to prevent any of the wood stain from seeping thru. We didn't worry about painting it on too thick--just enough to cover the surface.


And ta-dah! Here she is in all her built-in perky glory. I'm don't much gravitate to pinks (or any warm colors, for that matter--I'm a cool and neutral color kind of gal), but I'm loving this unexpected pop of color.


I really like this view below with the doors closed. When the doors are open, the pink is kind of in yo' face pink, but when the doors are shut (which is how they are 99.6% of the time), the pink is a lot more subtle, yet still a fun, unexpected pop of color.


And here she is with all her goodies back inside.


Mini project complete for only $13 (the cost of the paint). Once we paint the dining room walls, we will finish out the exterior of the built-in with high gloss white to match the molding/trim/doors throughout the rest of the house. But for now, this little lady is pretty in pink and that's enough!


And PS, if the red bowl on top of the now pink cabinet bothers you like it did me, you can rest assured it has been relocated since these pictures were taken!