Monday, August 27, 2012

Dollar Finds

Just wanted to pop in with some things I found at Dollar Tree yesterday--hard to pass things up when they only cost $1!

 
First up are these silver trays that came in these three different styles. I have been trying to find similar trays at our Habitat store but had only found one so far. I only got these three, but I might have to go back and get some more!


Close up.

 
I've got plans for these--involving chalkboard paint.


Next up are these small wire baskets. They had these in a variety of sizes, including trashcans. I thought they could be cute in really any room and would be easy to spraypaint for a different look.

 
Close up.

 
And lastly are these dish towels. With no holidays coming up any time soon, I was needing something to replace my 4th of July towels. Wa-lah! Some good finds for a grand total of $7. Happy Monday, everyone!


Thursday, June 28, 2012

Fun Finds As Of Late

Seems like lately I have been finding lots of great accessories for our house. Before we bought our house and got married, I really couldn't afford to be building up an accessory stockpile. My roommates and I were on a hotdog and mac + cheese budget for the most part, if you know what I mean (which, admittedly, I still eat sometimes because it's just so darn good)! So as of late I've slowly started to fill our home with things we love and move towards making each space have its own personal touch. Here are a few things that I've picked up lately...


This basketweave rug for the front door. It's great because it hides dirt, especially from puppy paws.


(Tuesday Morning: $14.99)


This hyacinth basket, which will hold pieces of wood by our fireplace once the chilly season rolls back around. (TJ Maxx: $19.99 --very similar to the Beachcomber extra large round basket at Pottery Barn for a cool $129)


This sweet tray with caning and chicken wire. I've been using it on the luggage rack at the foot of our twin beds.


(Tuesday Morning: $19.99)


This Robert Abbey lamp, with floral detail. Robert Abbey (well known lamp designer) has a warehouse in Hickory and several weeks ago they had a huge lamp sale. This girl (me!) actually got to go to the sale a day early for the "Friends and Family" day because my boss was invited and sent me in her place. The sale is AMAZING. There are people loading up entire pallets of lamps for extremely low prices. This lamp was $5 and retails at $200+!

(Robert Abbey: $5)


Close up detail of the floral wraparound (note: the color on the lamp is solid black--not sure why it looks like there are specks here--does not look that way at all in person!)


These lamps come in all different colors and my ultimate plan is to spraypaint mine, as I don't love the black. I think white would look so sweet in a little girl's room!


I also love this blue-gray--we'll see what color it ends up!


This plate with the fun design. I think it's intended to be a salad plate but I use mine as a plate to hold various items on my bedside table.

(Target: $2.99 I think!)


This wicker wastebasket for our gray guest bedroom--another precious purchase :) I love the scalloped look at the top.

(Tuesday Morning: $17.99)


These capiz frames that are on either side of our bed. I love that they tie in to one another with their capiz-i-ness, but have very different designs.

(TJ Maxx: $6ish each)


Another find from the Robert Abbey lamp sale. This lamp will be for our desk once we get it set up in the gray guest bedroom. It retails for $190+, but I got it at the sale for $15.

(Robert Abbey: $15)


I'm a fan of its industrial look--and you can adjust the bulb up or down with these little knobs. It's a nice masculine lamp compared to the uber-feminine floral lamp that we got at the sale.


This hyacinth wastebasket for our master bedroom (I'm kind of into hyacinth + wastebaskets right now, if you can't tell...the place where you put your trash is so much better when it's attractive!)

(Pier 1: $19.99)


And this tiny hyacinth basket (told you I was into it right now), which holds my makeup on top of our vanity.

(Pier 1: $2.99ish)


This antique clock and oval frame (frame to be painted and flowers removed!).

(Gas station/antiques near our house in Blowing Rock: $5 total)


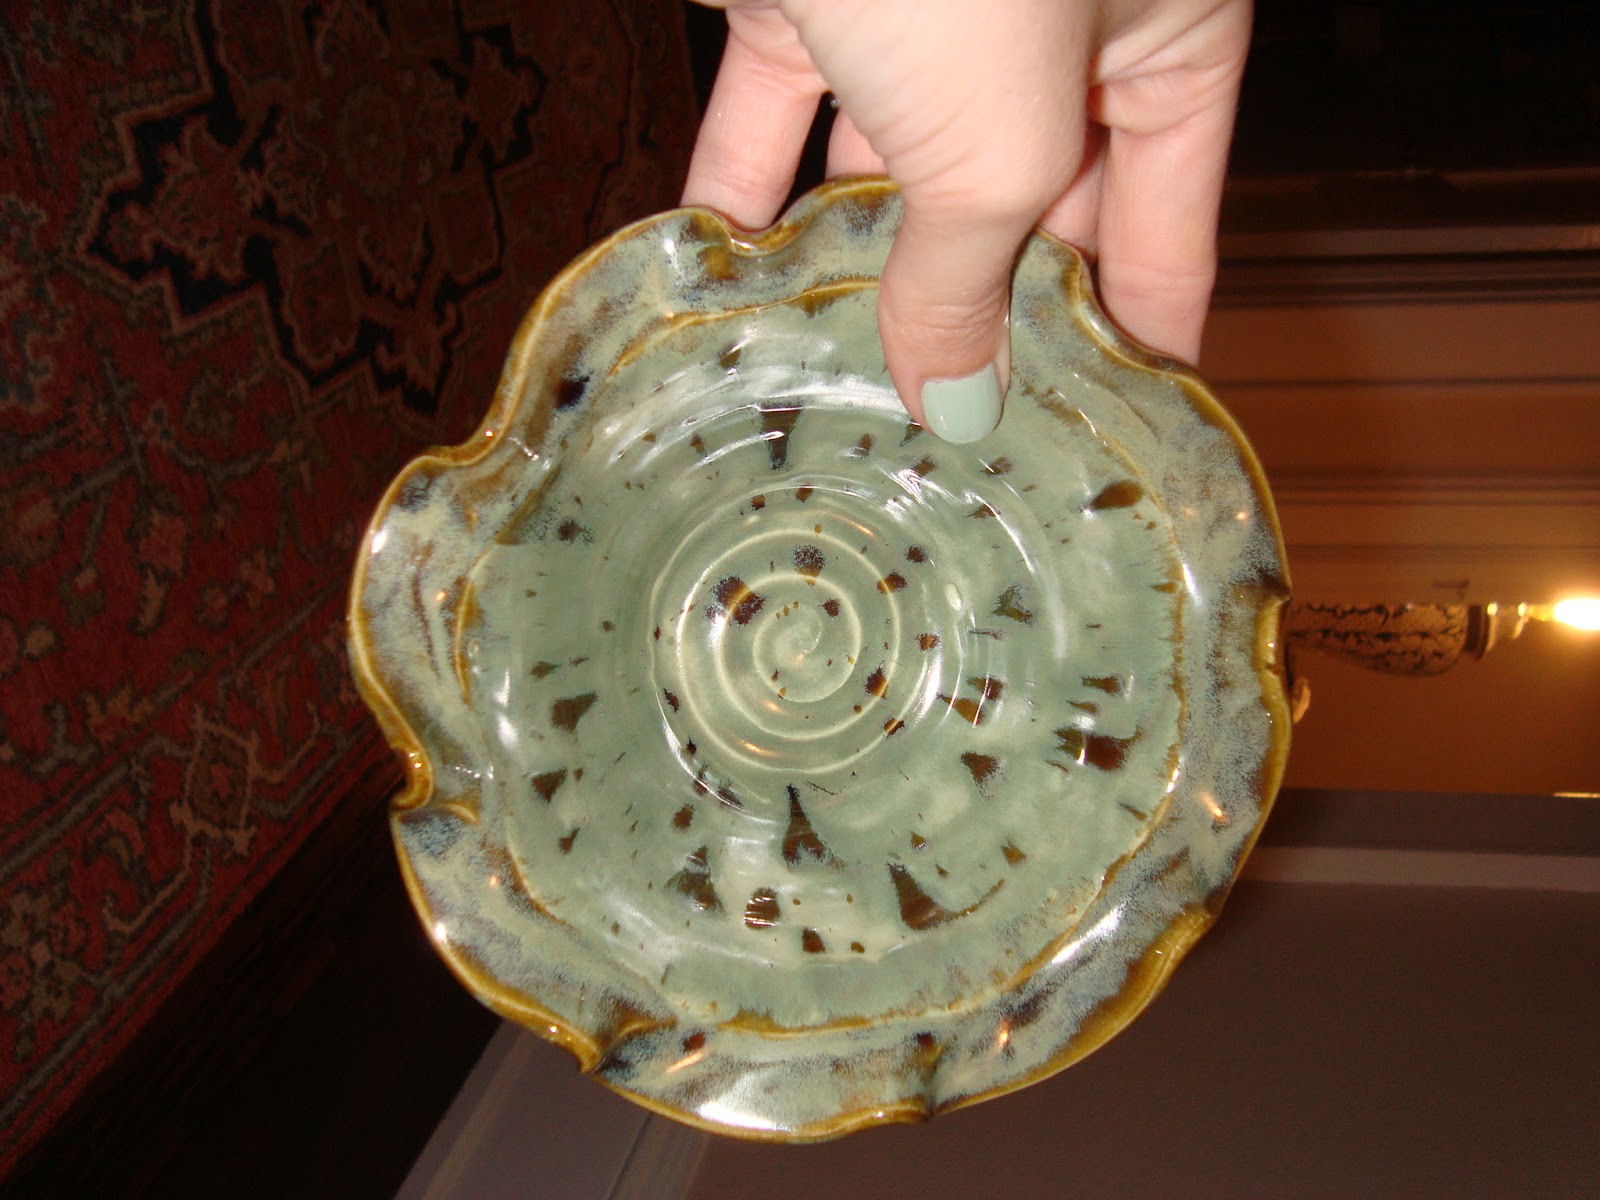
And lastly, this sweet pottery bowl with a wavy edge that we picked up a few weekends ago at an art festival in Hickory.


(Outlaw Pottery: $10)


So that about wraps up my accessory hunting as of late. I may be new to the hunt, but I can already tell it's going to take many years (my whole life?) to finish out all of our spaces. I like that.


And this pretty much sums up how Louise feels about most everything, and especially my accessory photoshoot. Happy Thursday everyone!

Wednesday, June 27, 2012

The One With the Blue Door

(I totally think I might start naming blog posts like all Friends episodes starting "The One With...". It's so much easier than trying to think up clever titles!)

Our front door has been in need of some major sprucing since we moved in. Since it's one of the first things people see when they pull down our driveway, I figured it was high time to get a'sprucing after doing nothing for 2 years. I was so inspired by the March 2012 cover of Southern Living, and after reading about the beautiful front door makeovers I was sold on painting our door. Stuart, not so sure!


As any good DIYer now does, I quickly perused Pinterest to soak up all the inspiration I could and narrowed my door color down to blue or red. After seeing this picture of the front door from the blog Cottage and Vine and how well the Wythe Blue paint by Benjamin Moore worked with the white house and black shutters, I knew I wanted to go blue.

Pinned Image

(source: Cottage & Vine)

Stuart was not as convinced. In an effort to entice him to my side, I painted this sample on the door with "Hi Love!!!" written in paint above it. When he got home and saw it, he still wasn't sure. But I was, so we went for it with the thought that it would be just as easy to paint the door black again if we didn't like the outcome.


We also decided to relocate and paint the house numbers since you really couldn't see them unless you were super close to the front door. And we opted to ditch that barn-inspired screen door. Now don't get me wrong, I love a good screen door. And it's so nice to let sunlight filter into the house without buggies coming in. But this door was on my "to get rid of" list from the first time we toured our house and aesthetics won out over functionality. We would love to replace the screen door in the future with something more attractive, but for right now we're okay without one.


And this is our super official note to anyone that delivers packages to our door -- "Please leave package inside screen door. Dog will eat if left outside!". We're going to have to think of a new solution for packages now that this is not an option...


To prep the door for paint, Stuart gave it a good sanding and then we hosed it down and let it dry.


We also removed all of the hardcore burglary warnings that were on the windows of the door from the previous owners (these are on the rest of the exterior doors as well!!). If potential burglars could make it this close to our house to read these stickers without stirring our canine, they almost deserve to get in because getting past Smyth is quite the feat. We used Goo Gone and a razor to get the stickers off--worked like a charm. 


We also removed all of the hardware (since it, like the house numbers, were going to be getting a spray (paint) job). We sanded where the hardware had been to remove built up paint.


And then the painting ensued. This is a shot after the first coat went on (but before we had painted all of the trim around the windows).


And here is the finished product! Much more cheerful than that boring old black door. It's reading a little more turqoise than in real life (probably because I tried to edit these pictures and I seriously have no clue what I'm doing). To get an accurate read on the color, the Cottage & Vine picture towards the beginning of this post is much more true to reality. We spray painted the existing hardware in Oil Rubbed Bronze to give it a fresh new look.


We also spray painted the porch numbers in ORB and rehung them on the pillar from their old location right next to the door. We need to touch up where the hinges were from our screen door--just ignore where you can see that in these pictures!


New planters and ferns from Lowe's finish things off (and the ferns are probably twice as large now as they were when I took these pictures!). We have SO much more to tackle with the exterior, but we are taking it one (tiny) step at a time so as not to overwhelm ourselves!


It's definitely way more fun to pull up to this color than when the door was black!

And most importantly, Smyth approves :) She has only tried to eat one of the ferns, one time. That's progress people.


Sunday, May 6, 2012

Stick A Toothpick In It...

Because I think this bathroom is (finally) D-O-N-E! The last time we left off, the bathroom still needed painting, lighting, and accessorizing. Then we added our DIYed state art and were starting to add the finishing touches, like a new fancy schmancy light switch and light. So without further ado, the bathroom went from looking something like this at the end of our last post:


To this:


We painted the bathroom with some leftover gray from our guest bedroom in an effort to start continuing our paints colors throughout the house.


Doesn't hurt that the paint color looks pretty darn nice with our carrara marble floor tiles.


I loved adding little accessories in the space--it's so nice to have a room that is completely done (it's the only one in our house that is!). This space may only be like 20 square feet, but we are pretty proud of the finished product :)


These little soaps are gardenia scented--they make me want to wash my hands for no reason, just to be able to smell them afterwards...TMI?

My mom gave me these sweet little monogrammed hand towels for Christmas. I realize they are wrinkled in these pictures, but this is real life over at the Mull's and we really do use them! The succelents below give the room some life, and lucky for my black thumb that they are pretty easy to take care of so far.

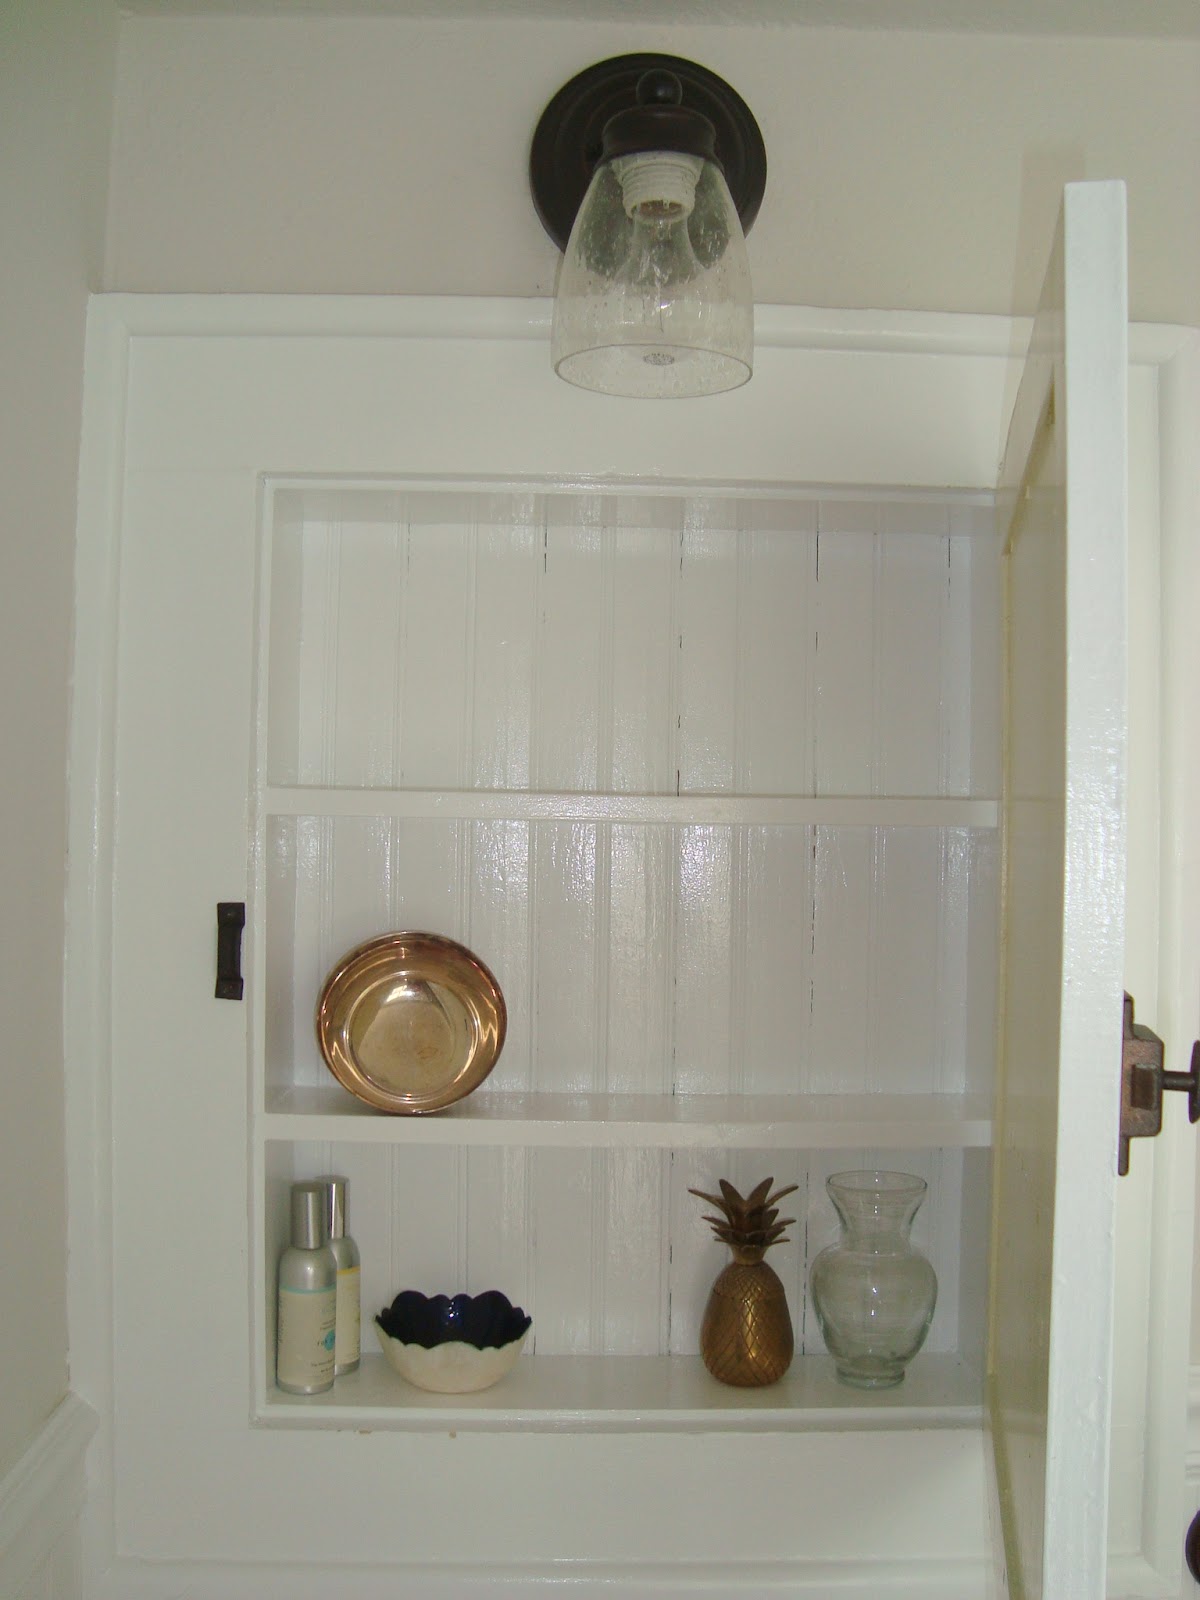
We kept the original built-in medicine cabinet and just gave it some love with high gloss paint--the beadboard interior is my favorite.

We removed all of the hardware on the cabinet, doors, and windows to strip and paint them like we did in our upstairs bedroom and will do eventually throughout the rest of the house.

This is a hard-to-get shot of the closet door in the bathroom. The closet is actually pretty deep, as it is the space under our stairs. I literally had to hold the camera above my head, aim, and hope to capture this picture--that's how small this bathroom is!


Here is the inside...I only said that the bathroom was done--the closet is another project for another time!


But the real important thing here is that our bathroom went from being icky, ugly, and gross:


To pretty, fresh, and clean!


And now, for a final breakdown of where we got everything:

-Tile Floor: Amazon
-Beadboard, baseboards, etc: Lowe's
-Towel bar, toilet handle & toilet paper holder: Lowe's
-Light fixture: Lowe's
-Sink and plumbing parts: Lowe's
-Sink faucet: Amazon
-Art: DIYed
-Chevron tray: One Kings Lane
-Succulents: Lowe's
-Succulent planter: Wal-Mart
-Trashcan: Target
-Vase: Ikea
-Bird nest: garden store in Blowing Rock, NC
-Monogrammed tea towels: Gift from my madre

And I think that just about wraps up this project! This bathroom is proof that you truly don't have to know how to DIY to DIY--you just have to learn along the way. Please leave me a comment if you have any questions about something that I might not have covered, or if you just want to drop us a line!