Sunday, January 6, 2013

Put A Cork In It

***Housekeeping Note: I didn't post yesterday because I feel like if there is a day that folks are away from their computer, it's Saturday. And I want to reach as many readers as possible! So I'm going to double up on a weekday with two posts, and will probably do this (skip Saturdays, double up on a weekday) for the rest of the 31 Days of Blogging series.***
 
I love neutral lamps. Love 'em. Neutral base + neutral shade = can go in any room and look understatedly beautiful/let other pieces take center stage while providing a pretty backdrop. Kind of like a supporting actor, if you will.


{source}

Know what I mean? So when I came across this lamp at Homegoods over the holidays for $49.99, I wasn't even sure what room I would put it in but snagged it and knew it could go anywhere.


After walking around our house, I decided to put it on my dresser in our bedroom. See, I had a little skimpy Ikea lamp that I've had for years on the dresser and thought it was high time for something bigger and prettier (sorry Ikea lamp).
 
 
And want to know the coolest thing about this lamp? The top is corked, so you can take it off and put things in the base of the lamp if you want to jazz things up.
 
 
I filled it with some evergreen clippings for now, but not going to lie, I'm pretty excited about changing it out for the seasons and holidays. I can already imagine some ornaments in corky next year for Christmas.
 
 
It's very Pottery Barn-esque, no? Minus the $169 starting pricetag, of course.
 
 
Welcome to our home, you pretty lamp, you.

This post is brought to you as part of the series:
 
 
To read other posts in this series, click the links below:

Friday, January 4, 2013

JOY!

If you're very observant, you may have noticed the slight change in the blog description under the main Mull Makeover header from "Renovating Our First Home" to "A Blog {Mostly} on Renovating Our First Home". Why the change? Because I'd like to record things happening in our life other than our house projects every once in a while. So while the blog will still mainly focus on what's going on around our home, it may start to include some personal posts of things we'd like to remember.

Yesterday, our good friends Tripp and Heather gave birth to a beautiful baby GIRL! They didn't find out the gender of the baby and did not reveal names, so everyone was on pins and needles waiting to find out what the baby would be! Arden Elizabeth Davis "Arlie" was born last night around 9:20 pm, weighing 7lbs 6 oz and 21" long. She is BEAUTIFUL and has a head full of hair, enough already to hold a bow should her mother decide to put one in there :).


See all that hair peaking out from her swaddle? What a doll! This was our first time ever visiting new parents in the hospital and is something we will always remember. Heather and Tripp, we are so happy for you and are so glad Stuart has a baby to practice with for a while!
 
This post is part of the series:
 
 
To read other posts in this series, click the links below:
 

Thursday, January 3, 2013

Biscuits that Melt in Your Jaw and Not in Your Paw

Post title brought to you by none other than Mr. Mull himself
 
When we first got our dog, Smyth (pronounced Sm-eye-th, named after my freshman dorm), in November 2010 I had a lot of time on my hands. Stuart and I had just gotten married and I wasn't working, living in a town where I hardly knew anyone. Somewhere along the way I found a recipe for homemade dog biscuits and having so much free time on my hands, decided to give them a whirl. Since that first batch, I've made several and they are such a hit with Smyth and her doggy friends and cousins that I thought I'd share them here.
 
Here's the recipe:
 
-2 1/2 cups whole wheat flour
-1/2 cup powdered milk
-1 tsp brown sugar (optional)
-1 tb wheat germ
-1 tsp beef bouillon
-6 tb bacon grease or meat drippings
-1 egg
-1/2 cup ice water
 
Preheat oven to 350*. Combine all dry ingredients. Cut in drippings. Mix in egg. Add enough ice water for mixture to form a ball. Pat out to 1/2" thick. Cut out. Bake 25-30 minutes. Remove from cookie sheets and cool on wire racks.
 
This Christmas Smyth and I made these for her doggy cousins and her doggy boyfriend, Cooper.


I usually make them with a little bone-shaped cookie cutter that I found at a kitchen outlet, but this batch was for Cooper, hence the bones + hearts :). I need to pick up some Christmas cookie cutters for next year!
 
Last year I got some cellophane bags after Christmas for maybe .99 at Wal-Mart and used those to package the treats. Smyth wrote a little message to all her recipients:


Cousins' bags--we've got a lot of dogs in the family!


And of course, Smyth got to keep some for herself!
 
 
She even got to eat some of the biscuit dough...because we all know the dough is the best part, right?
 
This post brought to you as part of the series:
 

Wednesday, January 2, 2013

His & Hers Monogrammed Lampshades


I love monograms. I kind of thought that after college I would grow out of them, but alas, I still love them the same. Who doesn't love a personalized object that is truly marked as belonging to you, and in a pretty script?
One of my dear friends has a lampshade that is monogrammed inside out, so that you can only see the monogram when the lamp is turned on. I've liked it for several years and thought it was high time I made some monogrammed lampshades for myself.
First things first, I took the lamps from this post and stripped each shade of its fabric. Then, I whipped out a can of oil rubbed bronze spray paint and gave the bases a new color. So from gold to white to ORB.
With the shades bare, it was time to get my monogram on and personalize these lamps for the hises and herses of the house (sad thing is, that kind of sounded like proper English in my head).
For my shade's monogram, I found this free, customizable printable.
customized printable monogram Customized Printable Monogram

 It was very easy to use--I just entered my own initials and then played with sizing on my print options to get a good size for my lamp.
Using my monogram as a reference for size, I went into Word and typed Stuart's monogram in a manly font (I think I used Garamond), increased to a gigantic size to match mine, and printed. I traced each monogram on laminating paper, cut them out in one big circle, stuck them to the inside of each lamp, and BAM, monogrammed lampshades when we turn on our lamps.


At first I was worried you may be able to see a little shadow around the circle I cut out, but because the laminating paper is completely clear and flushly adheres you can't see anything but our initials. As with all monogramming, it adds a little personal touch to these otherwise neutral lamps.


Plus, there's no confusing who sleeps where once your initials are slapped up there.


Double plus, it was a free project since I already had the spray paint and the laminating paper. Which is awesome, because things change pretty quickly around here so if I get tired of the monogrammed look I can just peel those babies off without feeling bad about money wasted.


Do you care for monograms? Have anything unusual that you just had to get your initials on? I may or may not have a monogrammed sports bra (but in my defense, it was gifted to me)...TMI?

This post brought to you as part of the series:


Tuesday, January 1, 2013

Blogger Resolution 2013: 31 Days of Blogging


BAM--just like that, I've made a resolution to blog every.single.day in the month of January. If you're a frequent visitor to Mull Makeover, you may be thinking to yourself (or saying out loud to your computer) "come on now, you only blogged TWELVE times the entire year of 2012...averaging once a month!" Guilty as charged. "You mean you're going to blog in one month nearly three times as much as you did all last year?" It's radical, I know. But I'm turning over a new leaf and I'm determined to post 31 times this month. Consider this Post #1.

We did a lot to get our house ready for the holidays this year, so there will be lots of projects and additions to chat about. I hope you'll join me each day in this 31 Days of Blogging series (my first and probably only series I will ever do, because let's face it, I'm kind of slack at this stuff--you don't want to miss it).

Did any of you make resolutions this year?

Tuesday, December 25, 2012

Wednesday, September 12, 2012

The Evolution of Our Bedroom

You've met before here, but it was only very brief. So come on in and meet our master bedroom. It started out as this--floral paper with floral border and bright blue trim and doors. Cute. Oh, and those awesome curtains. I'm glad I took pictures of the room when we first bought our house because I really don't remember it being this bad...


And then one morning I woke up after living in the house for about 2 months and starting to pick at the wallpaper, which turned into full wallpaper removal. Thankfully, Stuart's mom and 3 sisters came to help and it took all 6 of us working together a full afternoon to remove the wallpaper and prep the walls for paint.


After removing the wallpaper we primed and patched for paint.


And here is the only picture I can find to show what our roomed looked after the paint but before anything else (sike, you know I just wanted to show a pic of how I used to be able to hold Smyth on my hip like a baby). Our bed was against the right wall of our bedroom under the sconces (see picture above--hard to see sconces in picture below) and other than a dresser across from the bed, we just had that little MDF bedside table with that tiny lamp! Roughing it, but we didn't know it.


So without further ado, here is our bedroom now after nearly 2 years of evolving to become what it is today. Our bed is now centered under that large window instead of under the sconces. This girl couldn't take any more jumping across Stuart to get to my side of the bed. It makes much more sense to have the bed this way and it has better flow--it's no longer cutting the room in half when you walk in, if that makes sense.


And here is a shot from the opposite corner. That mirrored door is our closet (which is still bright blue inside--yikes!). The only items in this entire room that we had when we moved in were that cream chair, that lamp on the dresser, and the taller 5 drawer dresser 2 pictures below. Every.single.other.piece. (down to our mattress pad) was acquired after we moved in!


Here is a shot taken with my back to our bedroom door.


And another.


A little closer...


Facing our bed head--on.


And a shot taken with my back to the other window and chair.


And now for some close-ups. Stuart and I just made these bedside tables and are loving them! Full post coming up next on how we did it.


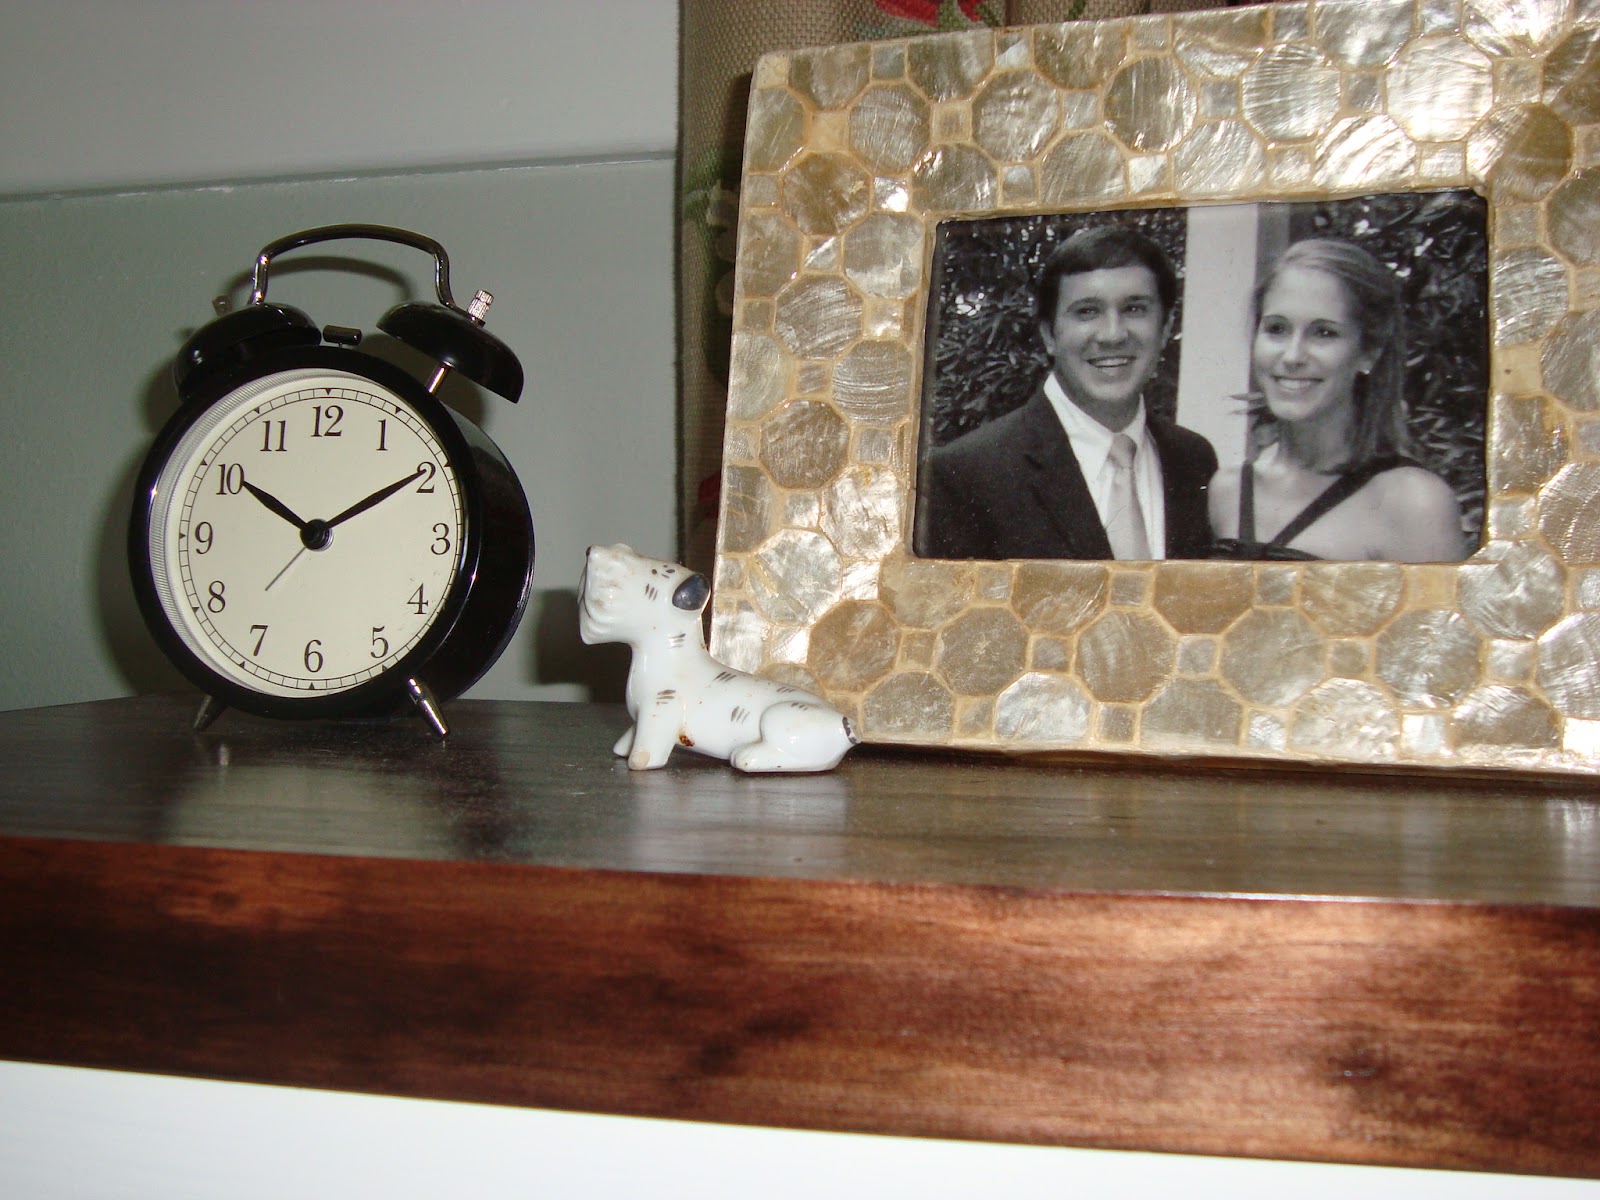
This is Stuart's side of the bed. He's a simple guy--just needs his alarm clock and a lamp, really. He would be fine with nothing else, but I added a picture of us and this tiny porcelain dog. The dog has special meaning--my great great grandparents' (I think that's right) house burned to the ground many years ago and that little dog is the only thing they found in the remains. Stuart was a little nervous to be responsible for the pup after I told him that story!


And welcome to my side of the bed.


We just got these butterfly prints at a wonderful, local store here in Hickory owned by our good friends. I've painted one of the frames gold, but plan to gold leaf both of the frames and paint the matte white. I love the octagonal shape!


And on my bedside table I've got 2 little porcelain birds, a blue bowl that holds my dental floss, nail clippers, and hair ties (the essentials, people), and that red plate.


And for another close-up, this is Stuart's dresser. It was the first piece of furniture my parents ever bought after they were married :).


And hanging over the dresser is one of our favorite things! My brother commissioned our good friend to paint this portrait of our house as a wedding gift. 


And here is a close-up of our beaded molding. My dad hung this for us as a gift for Christmas 2010. It's still hanging, Dad!


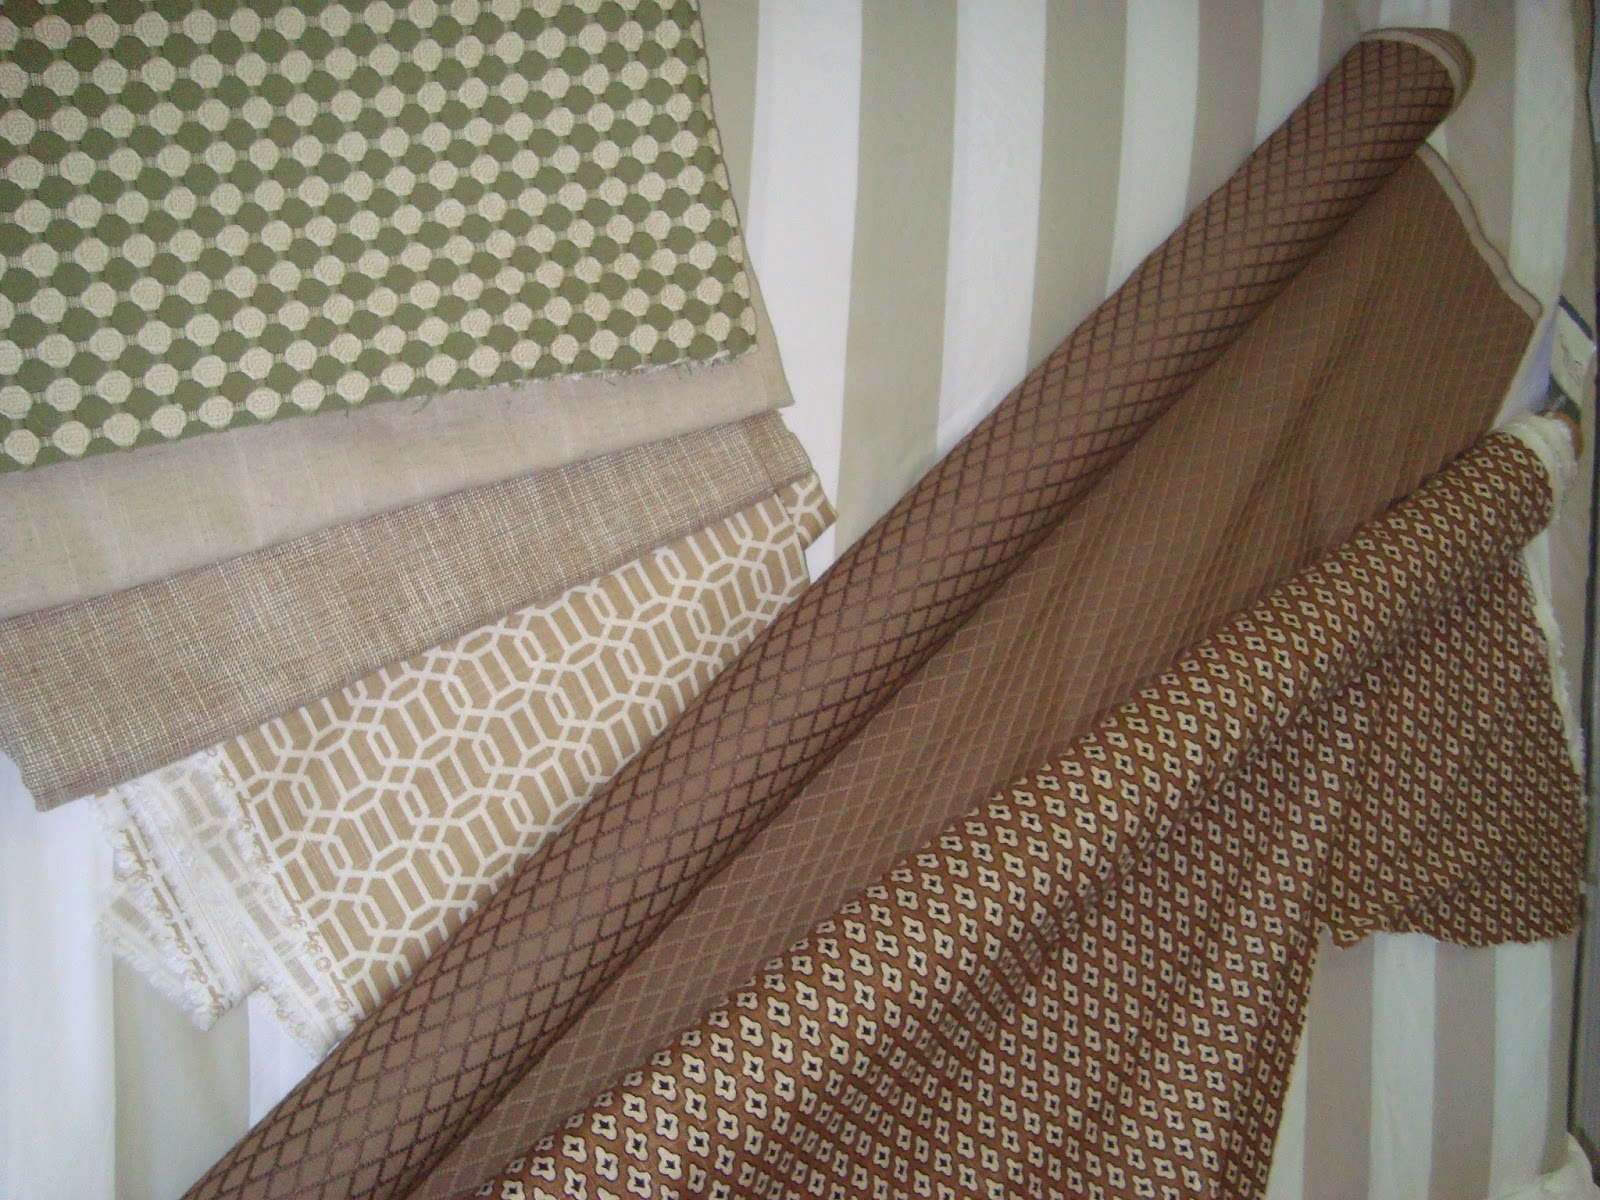
We've still got lots of plans for this room, including DIYing an upholstered headboard and making pillows for the bed. Here is a sneak peek at some of the fabrics.


The large oak that sits in front of our house is directly outside our bedroom window. My mom always says she feels like she is in a treehouse when she sits in our room--I would have to agree!


And I would be lying if I told you that we only have one bed in our room...this little lady sleeps every night on her Serta dog mattress at the foot of our bed!


Here is the skinny on what else we'd still like to do in here:

-install bamboo blinds on the 3 windows
-buy a white coverlet (instead of using a down insert at the foot of our bed)
-make pillows (already have the inserts + fabric, just need to get sewing!)
-DIY an upholstered headboard
-relocate sconces, possibly to either side of the long dresser opposite the bed
-find 3 large, square frames for the long wall (currently w/ the sconces) on Stuart's side of the bed to balance the room out
-paint the ceiling (white, it just needs a fresh coat)
-frame the house painting
-possibly make runners for our bedside tables
-gold leaf the frames and paint the mattes of our butterly prints

And here is a source list for anyone wondering where we got our stuff:

-rug: Pottery Barn Outlet
-bedding (duvet + bedskirt): Pottery Barn
-curtain fabric: purchased @ Martha's Fabrics in SC (sorry, not sure the name of the fabric but I do know they also have it @ Mary Jo's in Gastonia, NC)
-chair + lamp on longer dresser: IKEA
-5 drawer dresser: handed down by my parents
-longer dresser + bedside lamps: Habitat
-bedside tables: IKEA Rast tables (although very much enhanced--post to come!)
-butterfly prints: The Hickory Tree
-picture frames + blue bowl on my bedside table: TJ Maxx
-red plate on my bedisde table: Target
-ceramic birds on my bedside table: Jenny's in Hickory
-clock on Stuart's bedside table: IKEA
-Smyth's bed (it really is a Serta--who knew?): Sam's Club
-curtain rods: Amazon

See something I missed? Any questions? Leave me a comment!

And so you don't have to scroll back up to get one last before and after--our room when we bought the house:


And (nearly) the same vantage point today: