Sunday, January 27, 2013

Mountain House Progress Round III

If you're new to the blog or just now catching up with mountain house posts you may want to start here, here, here, and here before continuing below...

Last we left off with the mountain house progress the walls had been hung and the rooms were starting to really look like rooms. The next month--October 2011--we were able to visit again and show my parents (who live in Houston, TX and hadn't seen the house yet) all of the work that had been done.


When we arrived the crew was hard at work--always a relief to see when you're building a house and hoping the contractor will meet the deadline! The biggest exterior difference this visit was the addition of exterior stain. Also, siding had been hung on the window eaves, but not stained yet.


They were working on the last eave on the back side of the house while we were there.


And since there were actually items of value in the house now (all of the lighting, etc) the contractor had boarded up those top two windows since they hadn't arrived yet.


The posts for the balcony in the loft overlooking the living room were finally ready--yay! Next visit, no more scary photos from the second floor with no barrier!


And perhaps the most exciting thing this visit was that our hardwood floors were being installed. The entire house (with the exception of the two full bathrooms) has hardwood so this phase definitely helped to make the house start to look more finished.


And the hardwoods had already been laid upstairs!


There weren't quite as many pictures to share from this visit, so in honor of the precipitation we had this past weekend I thought I'd include a picture of our first snow at the mountain house circa January 2012 :).


And a picture of the Mulls in the mountains! If you've never driven at least part of the Blue Ridge Parkway, you must add it to your bucket list (it's what's behind us in this picture, as well as the road off of which our house is located)!

This post is part of the series:


To read other posts in this series click on the January 2013 links under 'Blog Archive' in the right hand column.

Thursday, January 24, 2013

Back to the Mountains

If you're new to the blog or just now catching up with mountain house posts you may want to start here, here, and here before continuing below...
Our next visit to the mountain house in September 2011 was met with much more progress--it's amazing what professionals with a crew can do, compared to our snail's pace work around our home in Hickory.


We arrived to windows (although still no front door, which seemed more and more alarming as work on the house progressed...I was very surprised at how long it was until the front door was installed)


And windows PLUS all the sliding doors across the back of the house, except for the top two windows of the A-frame---those came a little later...


There are sliding glass doors across the back of the house in the master bedroom, living room, and eating area. They have screens on the outside so you can enjoy having the doors open without buggies getting inside, although in the mountains that is rarely a problem. (We like to sleep with the doors open in the summer!)


And on the inside of the house we were greeted with drywalled walls! The laundry and half bath (picture above) were actually starting to look like rooms.


And the kitchen was finally designated as such with a dividing wall between it and the laundry and half bath (they share that wall there).
  

The electrician had come out and started to install wiring. How in the world you wire log walls, I have no idea but somehow he did it.


The contractor's crew had chinked in between all the logs. Chinking = filling the spaces between each log and it works similar to caulk, providing a tight barrier. (side note: about 8 months after the house was done, we realized some of the chinking was, in fact, not done when we had some house guests in the form of BATS. Luckily the home was still under warranty with the contractor and he came out and fixed the problem, fo' free)


The fireplace was ready for stone...


and it was still just as scary looking down from the second floor loft without a railing!


Since our last visit the contractor had begun to install tongue and groove ceilings in the great room and loft.


I love this picture--I think it kind of looks like the belly of a boat turned upside down.


And I also think it's neat how all of these points converge in the loft where a chandelier will soon hang.


The upstairs bathroom had walls, too! And a hole for the future potty.


The upstairs bedrooms had walls and windows, and the contractor had built in these sweet little cubbies in each bedroom on either side of the window eaves for extra storage (each eave--two in each upstairs bedroom--is big enough to hold a queen size bed).


And the upstairs bedrooms' balcony doors had also been installed on this visit.

Things were moving right along. It was such a different experience building from the ground up vs. renovating an older home. Things happen so quickly and there is so much that has to be decided (again, quickly) in terms of selecting basically every last detail of what is going into the house.

More to share in another post coming soon!

This post is part of the series:


To read other posts in this series click on the January 2013 links under 'Blog Archive' in the right hand column.

Wednesday, January 23, 2013

Dude, We've Got Two Houses

So I know I usually only post about the house that we are living in and renovating over here on Mull Makeover, but dude we've got two houses. And dude, I've got two blogs. 'Cept the thing is, the mountain house (that's house #2) got built so fast and we were there so irregularly that I never was able to keep up with the mountain house blog. So I thought I'd share some of the mountain house construction photos over here since they never got shared over there. There are only two posts on the mountain house blog, so start there first if you want some background information. Last I left off, the exterior of the home was built and our contractor was just starting on the interior...


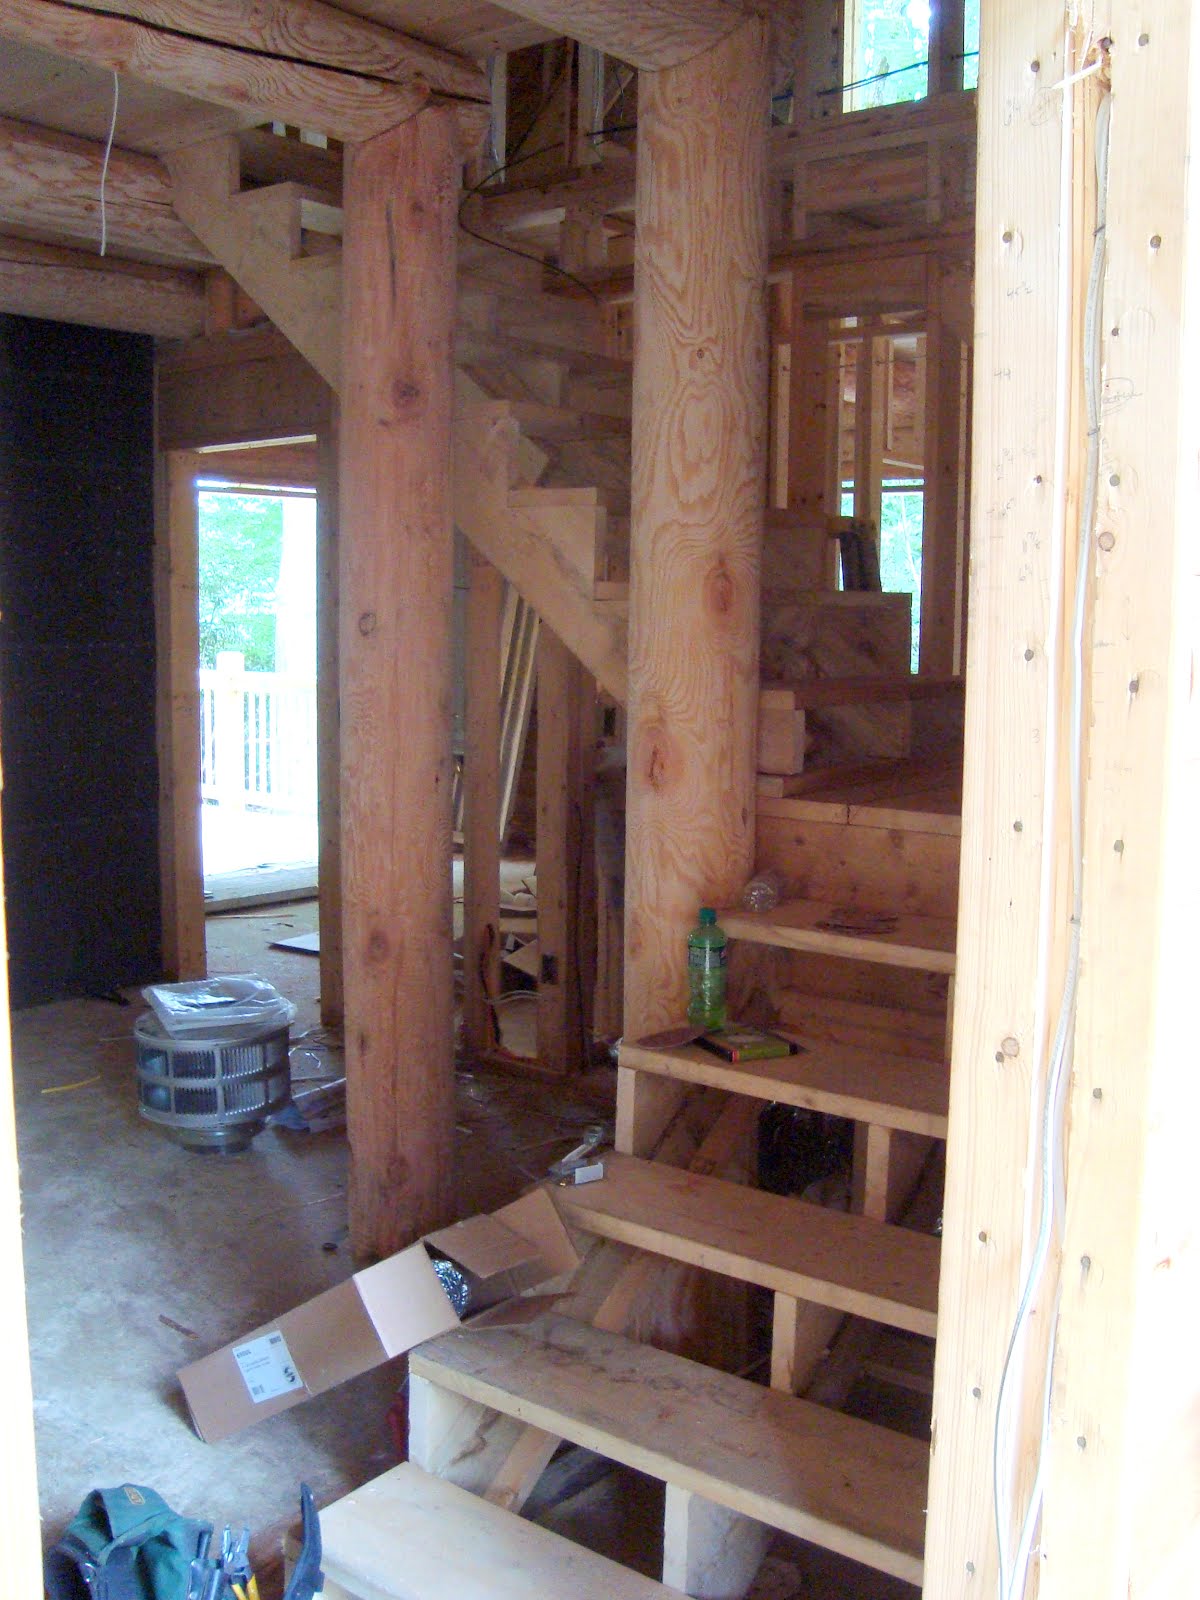
When we went for this visit (in August 2011--can't believe it's been that long!) the stairs had been built so we no longer had to climb a ladder to get to the second floor!
 
 
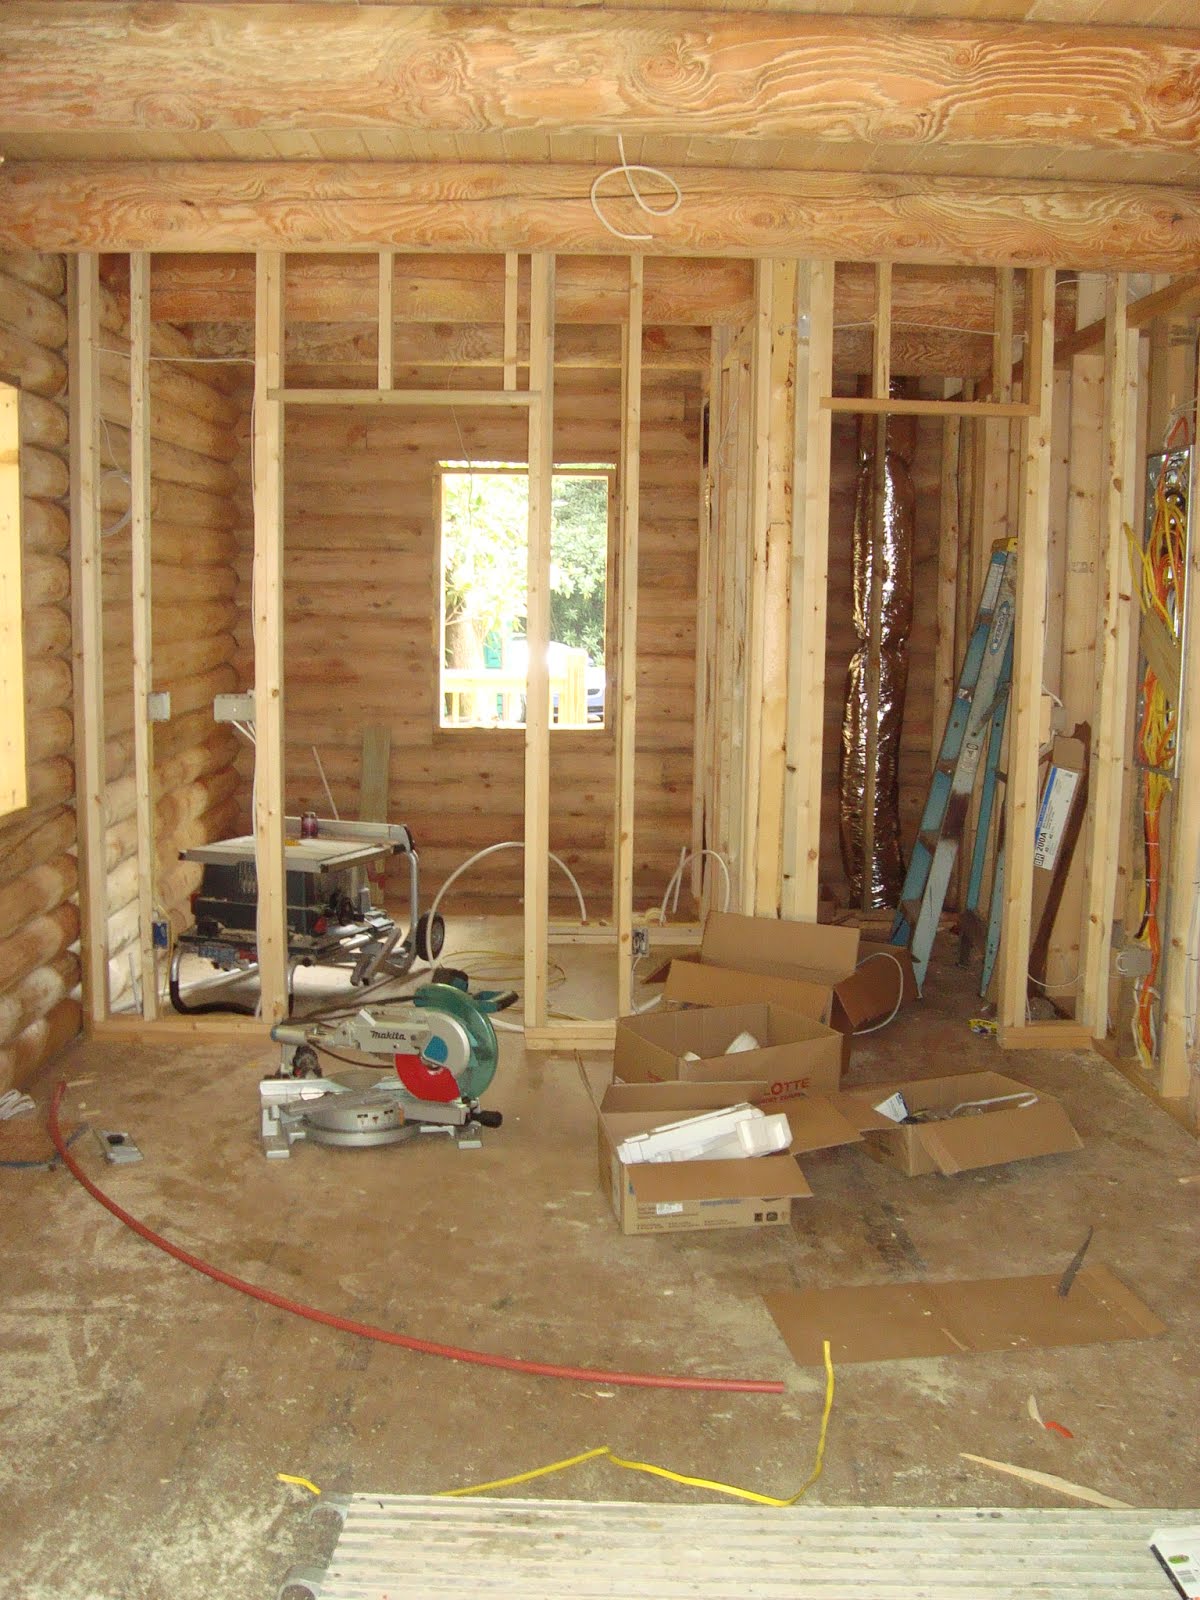
And all of the rooms were framed out. The picture above is just to the left of the front door once you walk in...the space on the left is the laundry room, and the space on the right is the downstairs 1/2 bath.
 
 
And this is the living room, with the shell of the fireplace built.


The picture above is taken standing in the living room looking up towards the future loft--although the loft railing has not yet been erected in this picture!
 
 
And now we're standing in the master bedroom, looking towards the master bath framed out on the left and the master closet framed out on the right.
 
 
And here is a picture of one of the upstairs bedrooms framed out.
 
 
Looking thru the framing to what will become the loft...
 
 
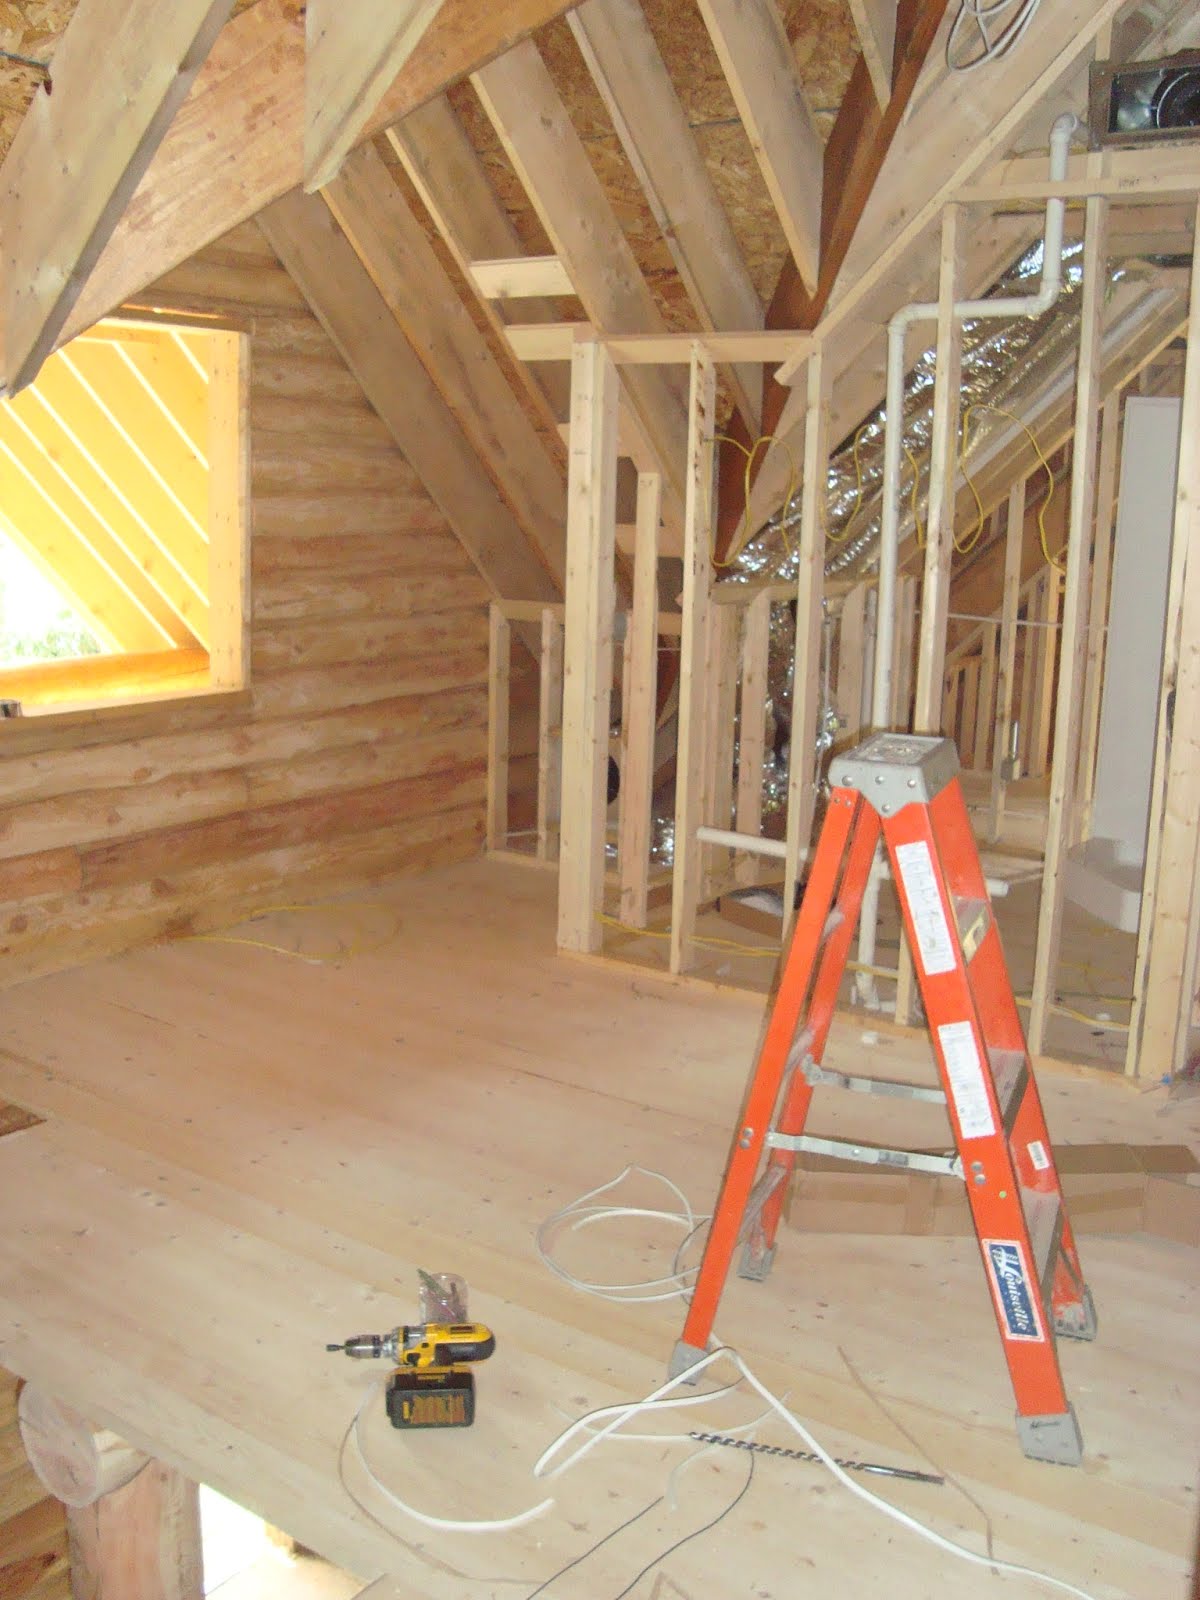
And this is taken standing at the top of the stairs/in the loft area--that window you can partly see looks out over the front porch.
 
 
There's the upstairs bathroom! Shower in place, but nothing else...
 
 
And there's Mr. Mull himself standing in the other upstairs bedroom (it shares a wall with the bathroom, as you can see).
 
 
Looking out from the loft over the living room--yikes, no railing!
 
 
Oh hey! Just walking down the new set of stairs...
 
 
And this is our sample piece of log that we were testing exterior stains on. We weren't happy with how light these stains were, so we ended up going darker...but then, that's another post for another day.
 
The mountain house was completed in December 2011 (yep, I've been holding out on y'all), so there are many more pictures to share but it will be broken down over several posts since there are so many pictures--so stay tuned!
 
This post is part of the series:
  
 
To read other posts in this series click on the January 2013 links under 'Blog Archive' in the right hand column.
 

Tuesday, January 22, 2013

Giveaway Winner!


I'm just popping in today to announce the winner of the Fine Lines Art & Design giveaway! We used random.org to draw one lucky person that entered, and the winner is...

Elizabeth McKinney!

who said "I would love to win this! I never win anything, though haha." Looks like your luck may have turned around, Elizabeth. Please email me at KatherineM4@gmail.com to claim your prize!

This post is part of the series:


To read other posts in this series click on the January 2013 links under 'Blog Archive' in the right hand column ------------->

Monday, January 21, 2013

Finding Balance in the Bedroom

Not sure why I'm so into suggestive titles these days, but this really is a post about finding balance in our master bedroom. You see, we added the framed painting of our house along with those butterfly prints that we posted about here over on my side of the bedroom (I sleep on the left side, as you're facing our bed), but all that was on Stuart's side were these little wall sconces. Not to mention there's also a dark, wooden chest of drawers on my side as well that was weighing things down.
 
 
See the nearly-bare-except-for-the-tiny-sconces wall on Stuart's side? (If you're wondering why those sconces were in such a wonky location, we THINK it was because the previous owners had their bed under them--although the house was empty when we bought it so we're not 100% sure. But you see, particularly in the winter when the trees are thinned out you can see the Blue Ridge Mountains out of the single window in our bedroom, and if the bed was under those sconces you would have been able to lay in bed and have the most perfect view...but we tried that layout and it didn't work for us, so sconces be gone!)
 
 
And this is a shot of my side with aforementioned single window before the painting was framed and the prints were redone.
 
 
Right before Christmas we decided to take those sconces down and patch over them so that we would be free to do what we wanted with that wall. You know we normally call Vernon the electrician when it comes to anything electric in our house, but Stuart was adamant that he could do this himself. He researched how to cap electrical wires and did his thing (sorry, that's seriously all I know about what he did other than that he turned off all the electricity in the house to do it--safety first!).
 
New York Wire Interior Drywall Patch
 
The holes left behind from the sconces were pretty large so we used an adhesive wire drywall patch to cover them. Basically, it covers the holes and provides a surface for the wet plaster patch to hold on to (the picture above gives a pretty good visual).
 
 
Here is what one of the holes looked like after we covered it with two rounds of plaster patch. And it sat like this for a good month before we got around to finishing the job. But that actually worked out for us, because in the meantime was when Vernon came to hang the light in the stairwell and while he was here he introduced us to stucco patch. Here's why that is amazing: most plaster walls, including ours, have a texture to them. The plaster patch that we had was going on smoother than our walls so you could easily spot where something had been patched, based on the texture. The stucco patch Vernon introduced us to has a lot of texture in it, and thus, blends much better with our existing walls.
 
 
So, we did another round of patchwork--this time with the stucco patch. It was tinted a sand color so you can easily see the difference between it and the first patch that we attempted. After the patch dried, we painted and then hung some pictures along the wall and all of a sudden things are starting to feel more balanced.
 
 
I got the frames at Target. I knew I wanted square frames and it took a surprisingly long while to find some that weren't super expensive. These were on sale at Target for $13 each and they hold an 8" square photo in the matte.
 
 
The frames came in this gun metal-ish finish--I'm definitely thinking that's going to change, but I'm not sure if we should go gold, oil rubbed bronze, or a combination of the two. Or something else entirely. We are open to suggestions, always!
 
 
The picture on the left is a bridal portrait, the one in the middle is empty--waiting for a good picture of Smyth & Louise to be taken for that one, and the one on the right is of Stuart and me. I'm not crazy about having large pictures of myself around our house, but I figure a few hidden in our bedroom are okay. Although I guess they aren't so hidden, since you have seen them now. Really they are just placeholders until we have some Mull babies and then I certainly won't be embarrassed to parade their pictures around our house!
 

And #thisisreallife, our bedding is in the wash right now and it's dark outside = poor lighting, but I really wanted to get this post up tonight. This is the only shot I can get (any further away and I'm backed into the hallway) so you can get an idea without actually being here of how these three large frames start to balance things out with the other side of the room.
 
Things are really coming along in this room--below is an update from the to-do list we posted here:
 
-install bamboo blinds on the 3 windows
-buy a white coverlet (instead of using a down insert at the foot of our bed)
-make pillows (already have the inserts + fabric, just need to get sewing!)
-DIY an upholstered headboard
-relocate sconces, possibly to either side of the long dresser opposite the bed
-find 3 large, square frames for the long wall (currently w/ the sconces) on Stuart's side of the bed to balance the room out
-paint the ceiling (white, it just needs a fresh coat)
-frame the house painting
-possibly make runners for our bedside tables
-gold leaf the frames and paint the mattes of our butterfly prints
 
Hmmmm, what to start on next?
 
Have you entered the Fine Lines Art & Design giveaway yet? If not, you've still got one more hour so enter now by clicking the picture below and following the instructions in the giveaway post!