Monday, October 4, 2010

Guest Room

For the past two weekends we have been working to patch, prime, and paint one of the guest rooms. Originally, we thought the cracks in the walls were too much for our limited reno know-how. However, Stuart got very brave and patched them himself--and it turned out well! Here are some pictures of the patching---lots of cracks. Not as bad as the dining room, but still...


And then we primed...Hunter and Erin came to help!


Here is an after picture w/ painted walls ("Pirate Coast" paint color) and high gloss white on the moulding and windows.

And here is a picture after the room was cleaned up and the twin beds were placed back against the wall.

And with paintings (courtesy of The Chicken Man in Columbia) hung and a new rug that Stuart and I had a hard time agreeing on...in the end, I won but he says it's growing on him.


And the twin beds with paintings that my parents gave us from Mobile, AL.

And here is a space in the room that will eventually have a desk and serve as our office area (big plans for that project!).


Aren't the little sconces precious? For now, we painted them in the high gloss but will eventually order or make some new shades for them. Here are some from Ballard Designs that might work:


We'll see...might just cover the existing shades in burlap.
No bed linens yet...waiting until after the wedding to deal with that.
So that's it for now! I leave you with a before and after of the room...
Before:


After:

Wednesday, August 25, 2010

Weekend Projects

This past weekend I went to our house and had some time to do a few projects. I've been looking at some other blogs and really wanted to try and recover a lamp with some fun fabric. We have a great Habitat store in Hickory so I went to check it out to see if I could find a cheap practice lamp shade to recover. I already had a lamp base that my parents had given me that was no longer in use at their house. So I purchased a lamp shade at Habitat for $1.25 and the lamp base was free. Here are the before pictures of each:


So while I was at Habitat I found some great, cheap fabric! They sell it for $1/yard and had 5 yards of it so I bought the whole thing. Originally, I was only going to get the lamp shade and look for fabric elsewhere but they have a $5 credit card minimum so I had to go scrounge for something else to buy--I think I lucked out!


Isn't it so cute? And it coordinates well with the rug in our living room, added bonus. I think I might also use it to make a headboard for our bed...stay tuned, that should be interesting.

So in order to cover the lampshade, I traced the shade on the fabric and cut a little extra on the top on bottom so I'd have room to glue.

I hot glued the fabric to the top and bottom of the shade and after suffering only minor hot glue gun burns, wah-lah!

Then, Stuart went out and bought me some cream spray paint from Lowe's with a bit of gloss in it. I sprayed the base of the lamp and my project was complete!


After my lamp project, Stuart and I decided to remove the outdoor porch carpet. I'd been wanting to remove it ever since we got the keys to the house because it was pretty gross. See for yourself!


Here are the after pictures...eventually I would like to either buy a rug for the porch or paint one...we shall see.


Just for fun, here are some new pictures of our house. I never really posted a full view from the front so here it is, as well as some pics from our living and dining rooms as they currently exist--more progress to come soon!


Monday, August 2, 2010

Taking Down All the Wallpaper

When we purchased our house, we knew that taking down all the wallpaper would be a challenge and a never-ending task. So far, we have removed the wallpaper in the dining room, hallways, bathrooms, and one of the guest bedrooms. All that's left to finish is the stairwell (which poses an interesting challenge, as the ceilings reach about 20 feet on the stairwell--suggestions?? A ladder just doesn't seem safe on stairs...) and the master bedroom. Below are some pictures of the de-wallpapering.
Upstairs bathroom before:

Upstairs bathroom after:


Upstairs bedroom before:


Upstairs bedroom after:


Hallway (sorry, no before pic):

Dining room before (a light colored seagrass):


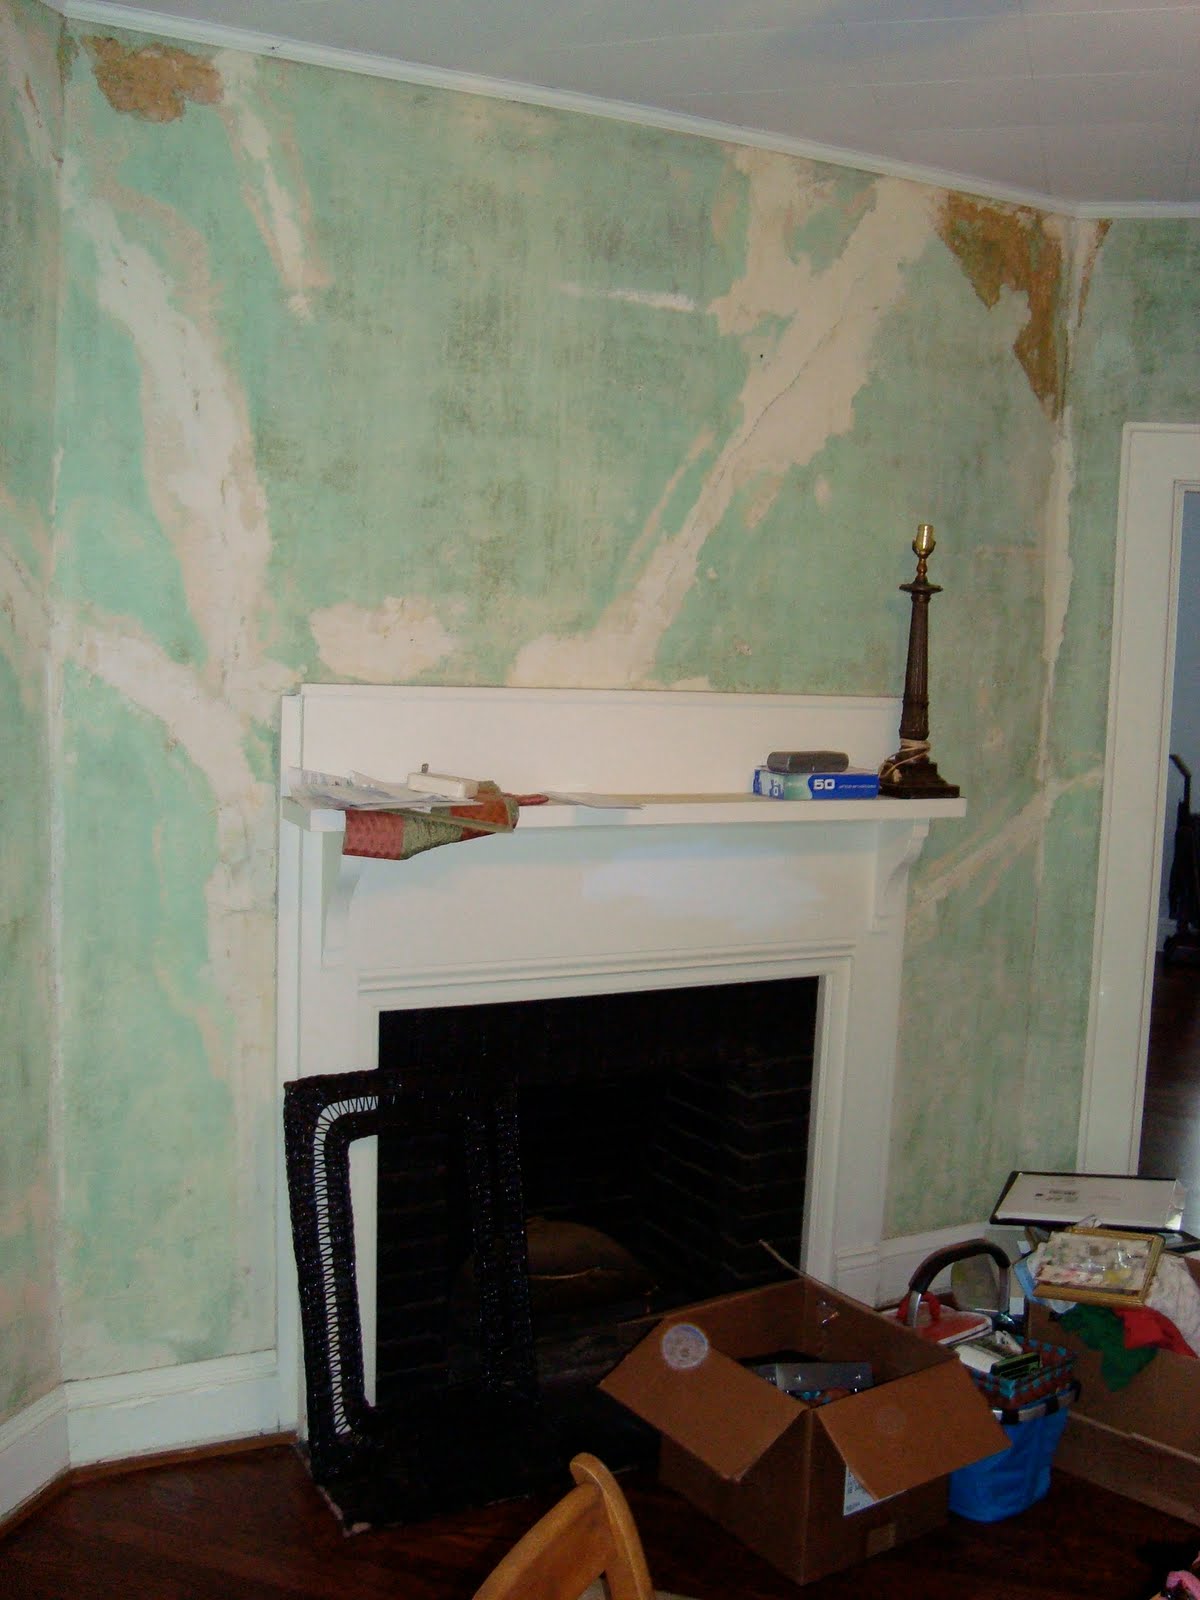
Dining room after (I actually think the room looks pretty cool now):


I saw a kitchen in a magazine where they actually left their walls like this. We would ultimately like to paint the room a chocolate, but it might be a while before those cracks get patched and repaired. So this is our dining room for now!
Once we patch all the cracks in each room, we plan to paint. More posts to come!