Back in December I bought an old sewing table from Habitat for about $9 (it was 1/2 off day, of course so I thought $9 down from $18 was a pretty good deal). I liked its size and thought it would make a nice nightstand for my side of the bed. The one downside? It was so ugly. It looked like the previous owner had tried to prime it and then not followed thru with painting it. Anyways, I figured for the price even if it didn't come out much improved, it wasn't too big of a loss on my part. So home with me it went! And home with me it sat for oh 8 months or so. Until last week, to be exact, when I finally worked up the motivation to mosey on over to Lowes (it's less than a mile from our house) and pick out a paint color. My paint choice was influenced by the new curtains in our bedroom that I wrote about
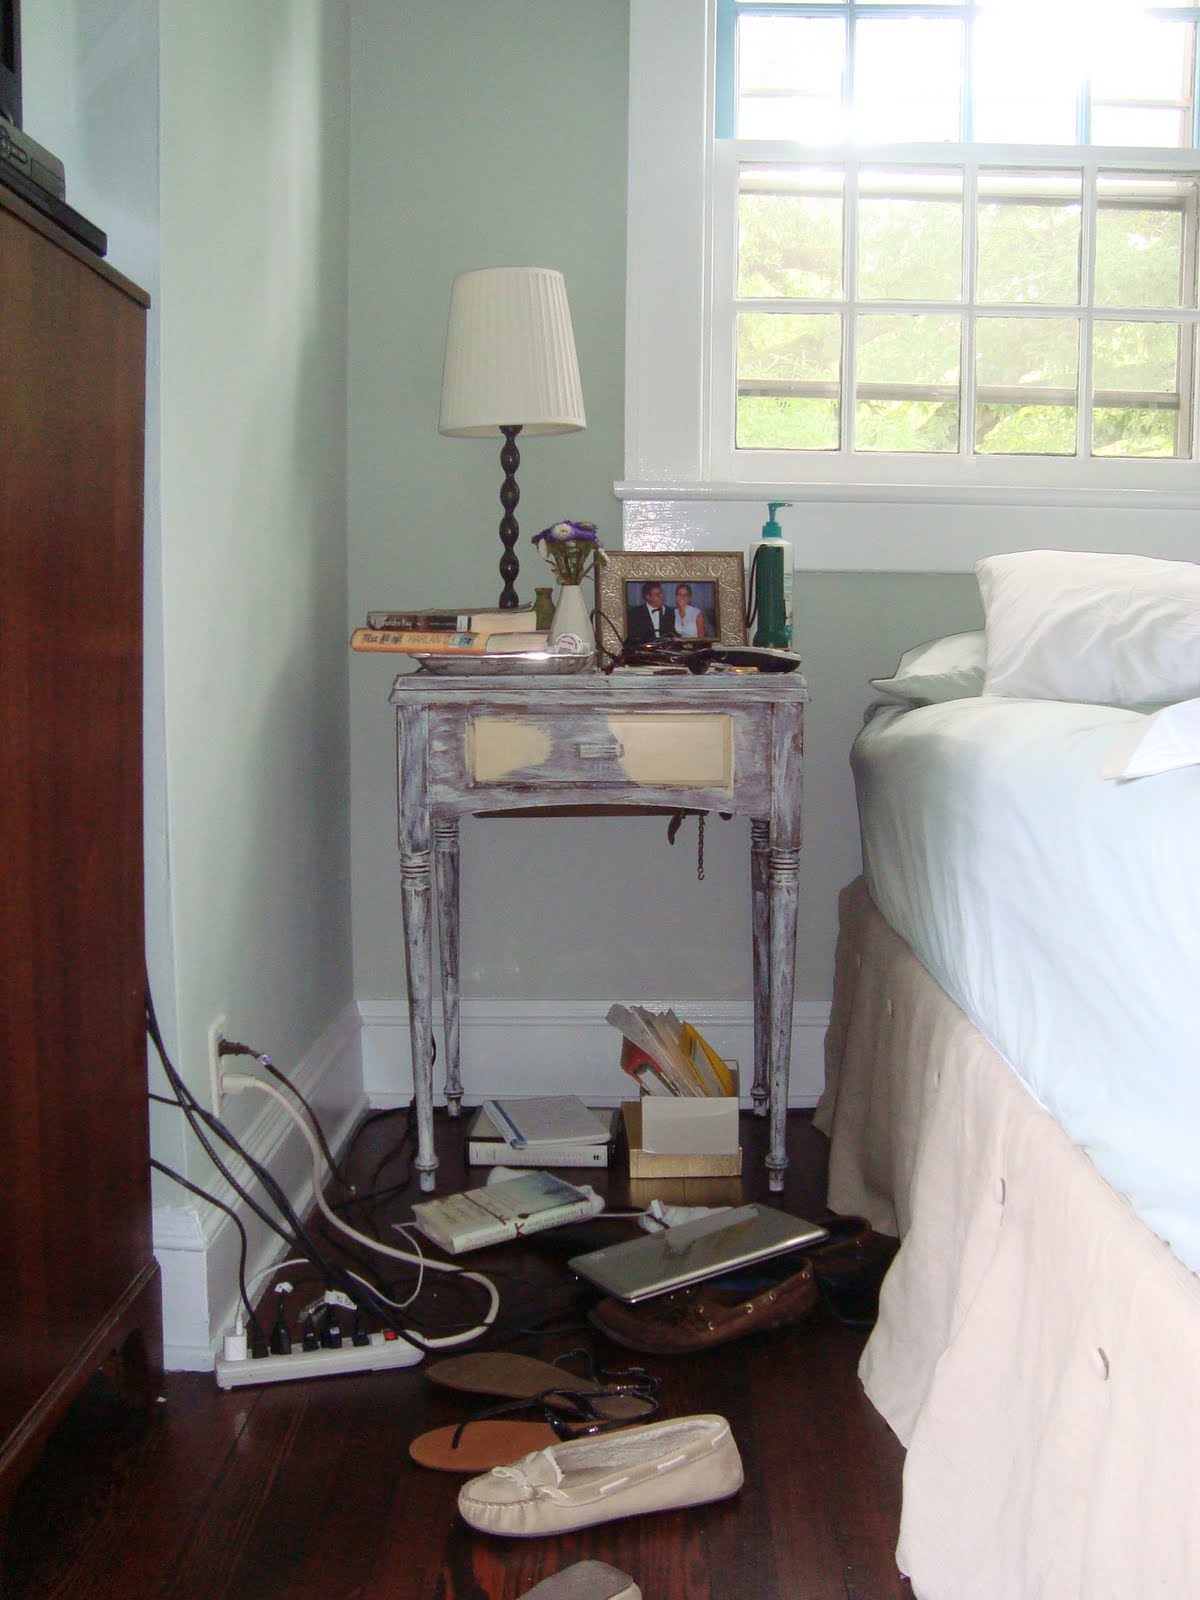
here. I thought an orange might add a nice, unexpected pop of color against the curtains that will utimately be the backdrop behind this table (once I get the last 2 panels sewn and hung). Here is a picture of the table before it was painted (with a few sample brushstrokes of the orange before I began painting).
(And yes, my side of the bed is pretty much always this messy!)
The table was a little high for our bed, so I planned to saw a bit of the legs off after the painting was complete.
I also wasn't crazy about the pull on this drawer, so I bought 2 little knobs from Lowes to replace it.
I removed the pull and covered the holes with some wood glue that we had on hand. Then, I sanded it down to leave a nice smoothe finish.
And a shot of the table opened--obviously no sewing machine in here anymore!
So I thought I had picked a good color and I was ready to slap some paint on this lady and be done--quicky project. No siree. First off, I made the rookie mistake of not sanding it down a little before painting. I
stupidly assumed that the previous owner had sanded the table and then primed it. That was not the case, so my mistake right out of the gate caused the new paint to scrape off of the piece at the slightest rub against something. I painted three coats of the new paint on her and it was still scraping off very easily. Second mistake? I picked a terrible color! I honestly don't know what/how it happened--I thought this light creamy orange would be really nice, but not so much:
Yikes!! I didn't take a picture of it next to my bed
because I was so embarrassed, but the result was not good. ::sigh:: I even tried to rub some leftover stain from our floors on the orange paint to darken things up a bit, but to no avail. I had to walk away from it for about a week before I could get my butt back to Lowes to pick another color. And this color was chosen by Stuart! He is always drawn to darker colors while I stay on the lighter side, but this time I liked what he chose and thought it would work well with the new curtains. So we brought the paint home and took the table outside to sand/scrape off the old paint and start over.
And Stuart sawed off a bit of the legs before I painted--in the picture below 2 of the legs have been "trimmed" and 2 have not. We only took off about 1.5" but it made a big difference. Stuart used a jig saw but I'm sure any saw you have around the house would be just fine.
And wah-lah! The new paint color, a darker green that will look really nice once the curtains are hanging behind the table. (And yes, I cleaned up my side of the bed just for this picture!)
Here are the new knobs--they resemble the door knobs that are on each door throughout our house and I think they give the piece some added femininity.
I tried to create a feel for how the table will look with the curtains. Stuart is out of town so I didn't have anyone to hold the curtains behind the table, but you get the idea. I am thinking of adding a little skirt (most likely beige colored) to the table so that I can hide all of my bedside junk things underneath it. But for now, this girl is hitting the hay and may or may not doze off while admiring her facelifted $9 nightstand.