Lately I've been adding a smidge of gold to our bedroom in the form of frames to mix things up a bit and balance out the other metal finish we've got going on (oil-rubbed bronze on our monogrammed lamp bases and our drapery hardware).

Remember these framed butterfly prints that I briefly talked about in this post on the evolution of our bedroom? We picked them up for $20 at our friends' store here in Hickory, The Hickory Tree. I knew when we got them that I would need to give them some new life, but I really loved the butterfly prints and the octagonal shape. They came with that blue matting on top of a small, navy blue matted circle. And the frame--oh, the frame!--it was like a splattered gold and red, very interesting.
Here's what they looked like in the bedroom post...I had painted one frame with some old gold leaf but that was all I'd done.


When I have a project that doesn't turn out the way I had hoped, I have to have some room from it. Let it sit for a while before I can get back to it. So those prints hung on my wall with the ugly white matte for probably a good month or two. And then one night, bam, I'd had enough space and was ready to work on them again. Couldn't stand to see them in their poor condition for a second longer. I left the inner circle the mushroom brown, and covered the outer mattes with a fabric that coordinates well with our curtains.

To get the fabric to adhere, I first cut a piece that would cover the whole matte with a little hanging over the edges. Then I eyed where I wanted it to line up and just put a strip of hot glue on on the back of every side of the matte and pressed the fabric, then trimmed any excess.

I cut a hole in the center and went around the back of the inner circle to glue the fabric there. Then I put the mattes back together, again with hot glue, and put them back in their frames and wah-lah.

So it kind of worked out that I broke one piece of glass since I think I would have left them like this even if that hadn't happened. I've used this fabric in some other places in our home and was lucky enough to find it for $1/yard at our local Habitat store. Lucky indeed, since at the time it was listed on Ballard Designs site for about $30/yard. I'm also going to use it on some pillows in our bedroom.

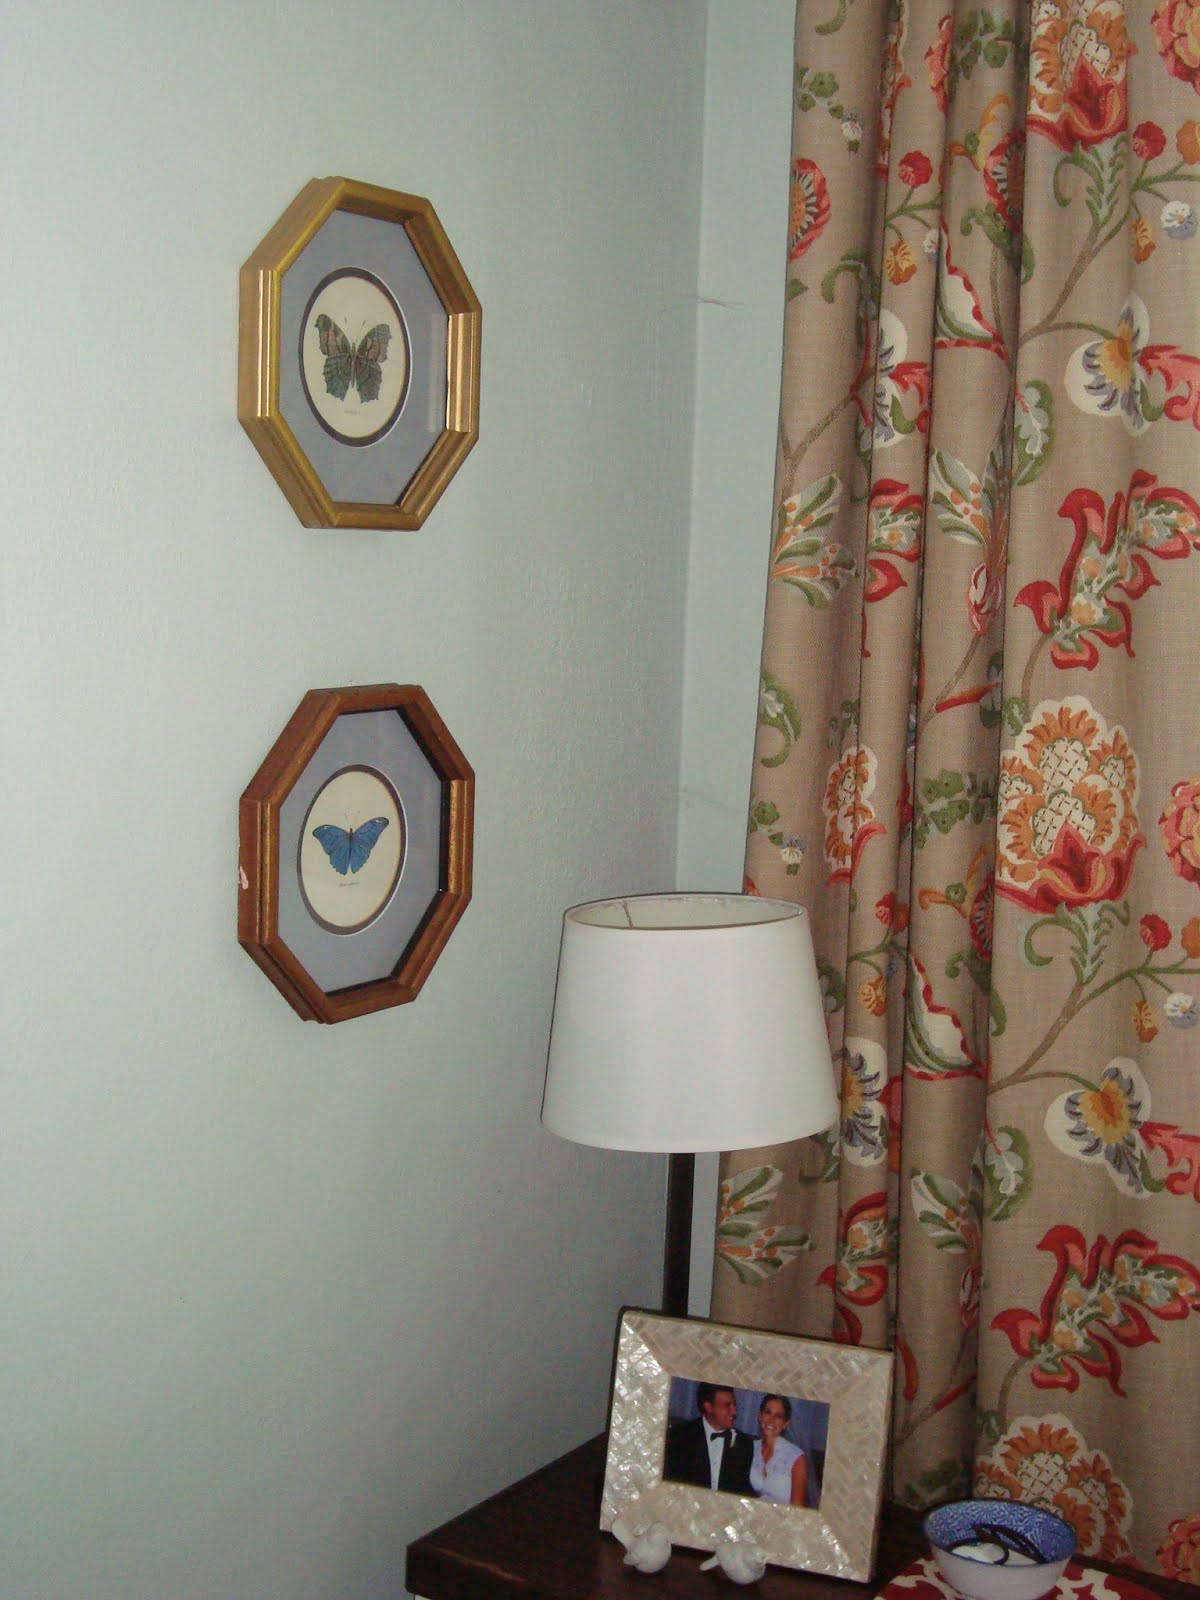
And here is a shot just for some perspective of where these are hanging in our bedroom...what do you think--improvement?

I also added a little bling to this formerly unframed painting of our house that you saw here. It looks pretty bare in that picture above, poor thing.

So I added this chunky wooden frame that I picked up at Hobby Lobby. I used a 40% off coupon that I found online so this frame rang in at $38.

Not too shabby, considering what you would pay to have it custom framed.

I love the little gold detailing that came on it. Just enough to add a little pop to the frame! Don't you think it happies up the painting?...because happies is a word--a verb, no less.

And that pretty much wraps up how we're "going for the gold" in our bedroom (er--did that sound awkward?)! How do you feel about mixing up finishes? How do you feel about gold? I think it's back to stay, for reals.
PS : Look for two posts tomorrow, since I'm doubling up from Saturday!
This post is part of the series:

To read other posts, click the links below:


0 comments:
Post a Comment